If you’re planning a trip to Japan, you’re in for an exciting adventure. To make your arrival process smoother and more efficient, use Visit Japan Web, a digital platform that helps streamline entry procedures. While travelers can still fill out manual forms, completing the required details on Visit Japan Web in advance will save you valuable time when you arrive.
Here’s how Visit Japan Web works:
Registering Visit Japan Web Account
Step 1 – Your passport must be valid for at least 6 months beyond your return travel date. Malaysian passport holders can enjoy visa-free entry to Japan for stays of up to 90 days.
Step 2 – To access Visit Japan Web, visit https://vjw-lp.digital.go.jp/en/
Step 3 – Click “Start using the service now” on the bottom of the page.
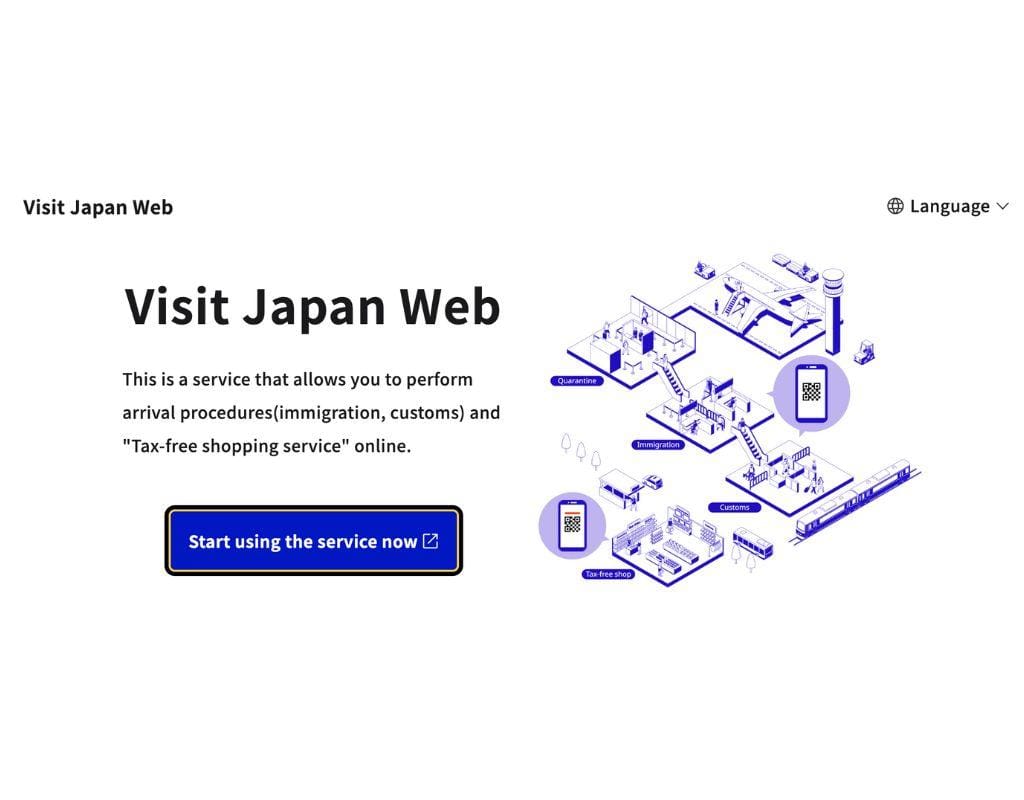
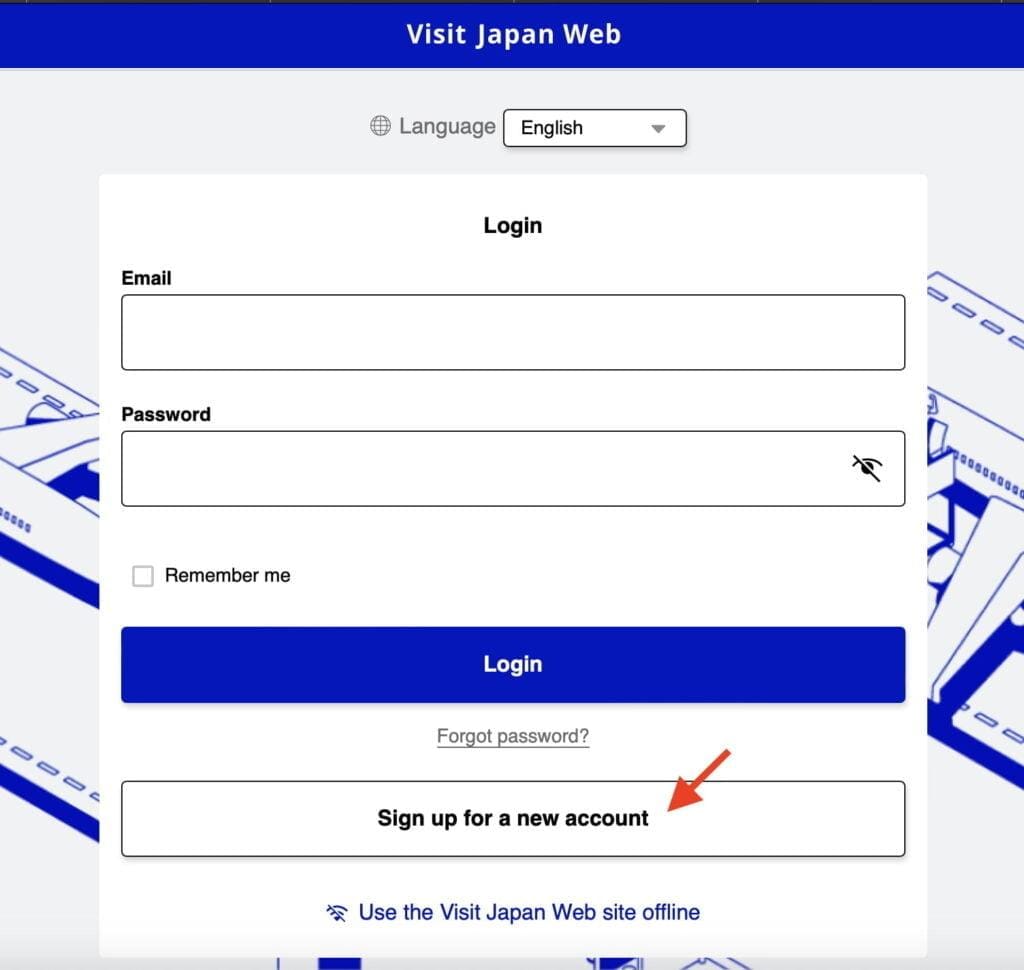
Step 4 – Click “Sign Up for a New Account“
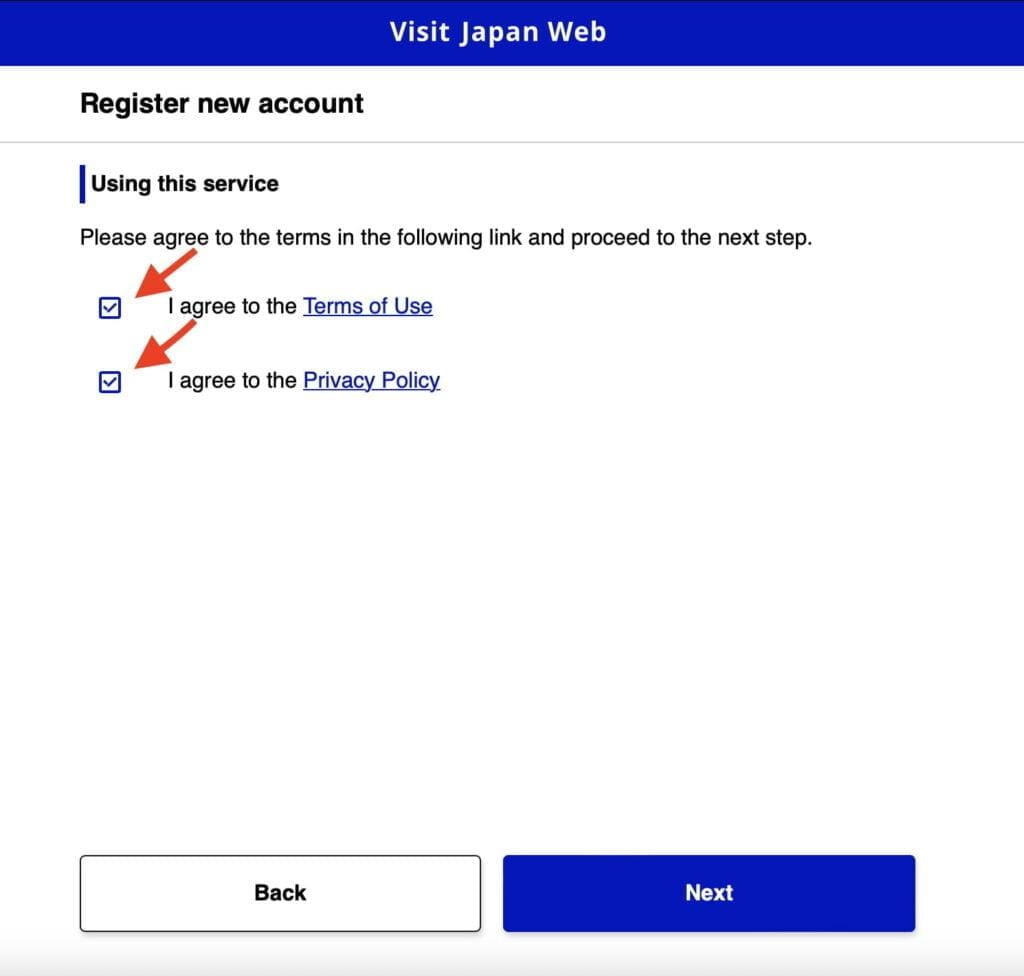
Step 5 – Tick the boxes for the Terms of Use and Privacy Policy
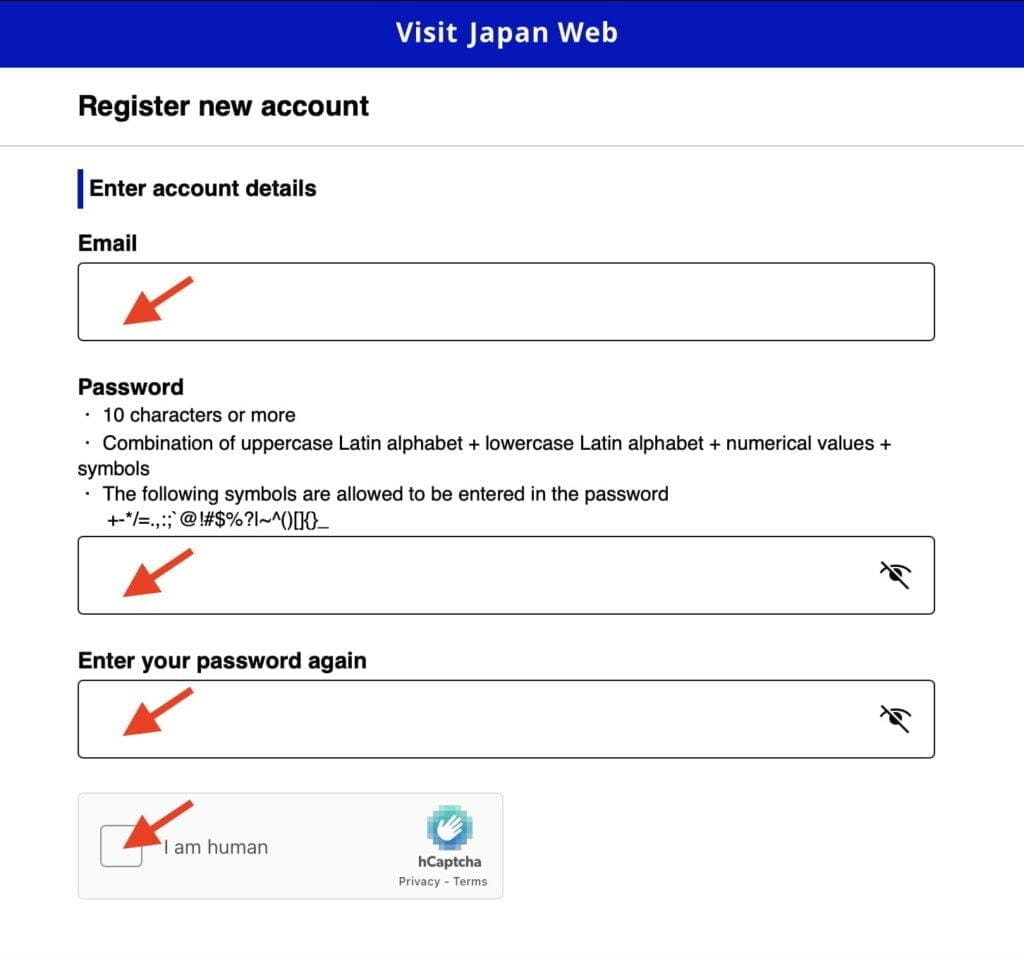
Step 6 – Fill in your Email, a strong Password, tick the “I am human” to solve the captcha challenge and click “Create Account“.
Step 7 – You will receive an email containing a confirmation code. Enter the confirmation code and click “Confirm Email“.
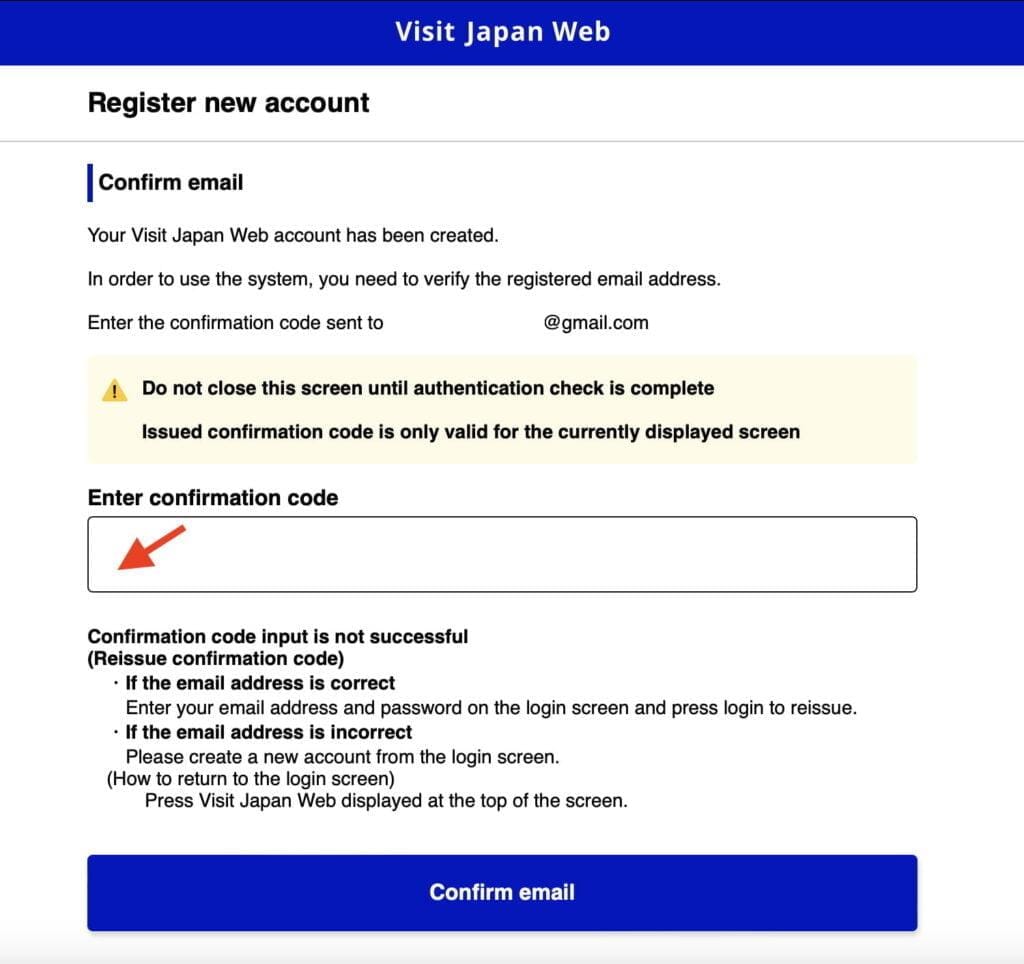
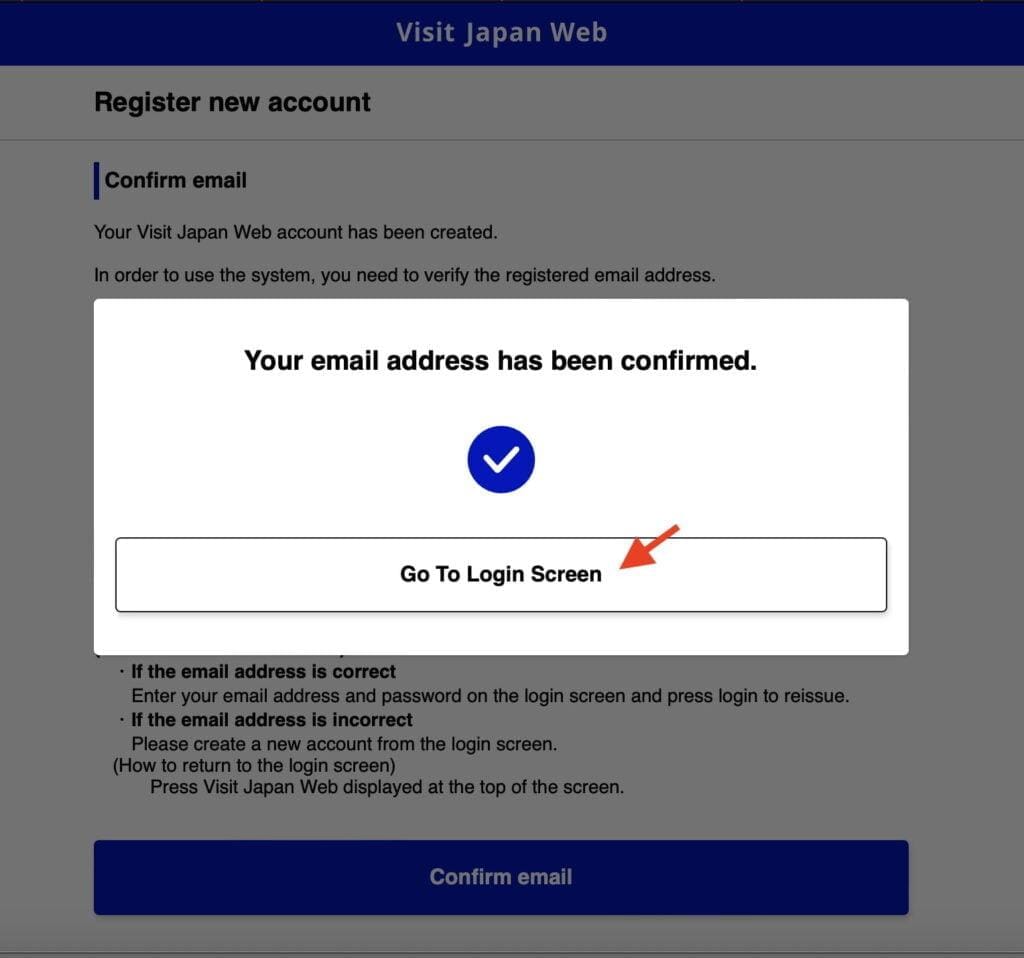
Step 8 – Click “Go To Login Screen” to log in using your account credentials.
Registering Your User
Note: We recommend using your mobile phone to register your user since it requires taking a photo of your passport and uploading it.
Step 1 – Login to your Visit Japan Web Account – https://www.vjw.digital.go.jp/m
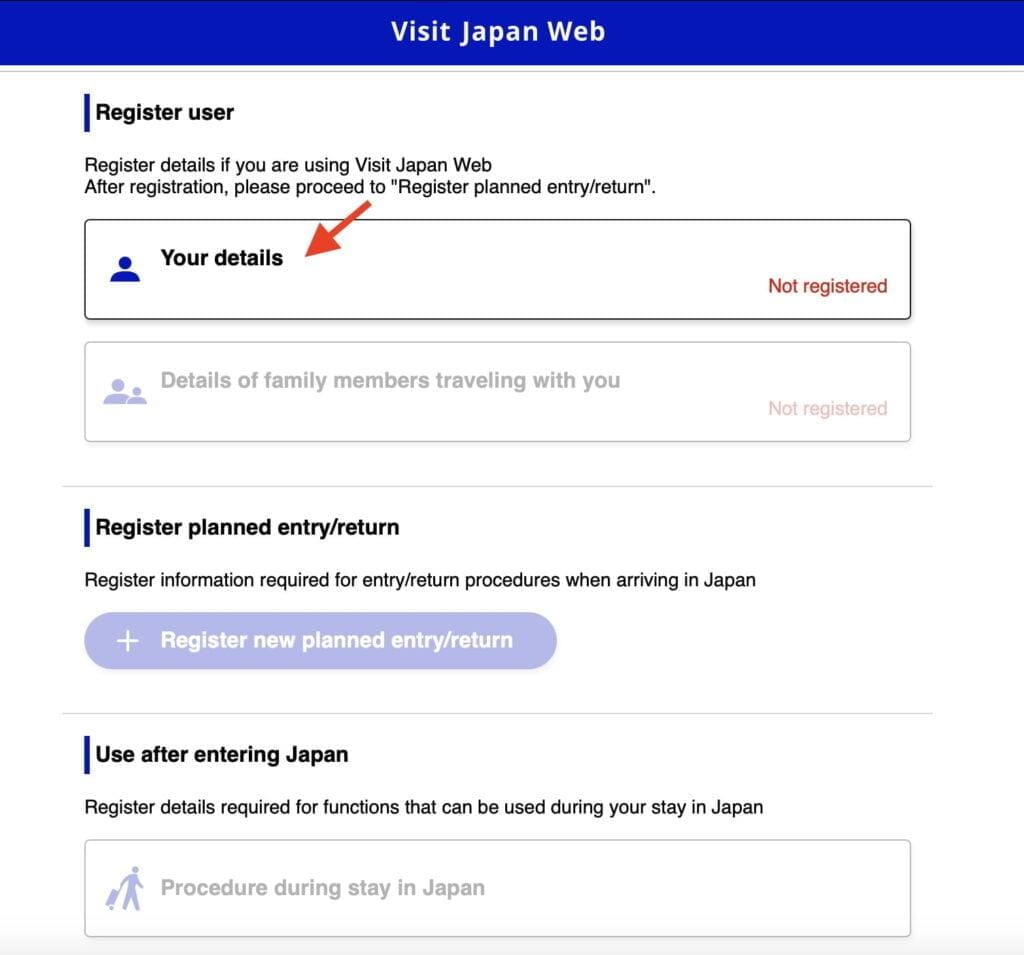
Step 2 – Click “Your Details” to start entering your passport details.
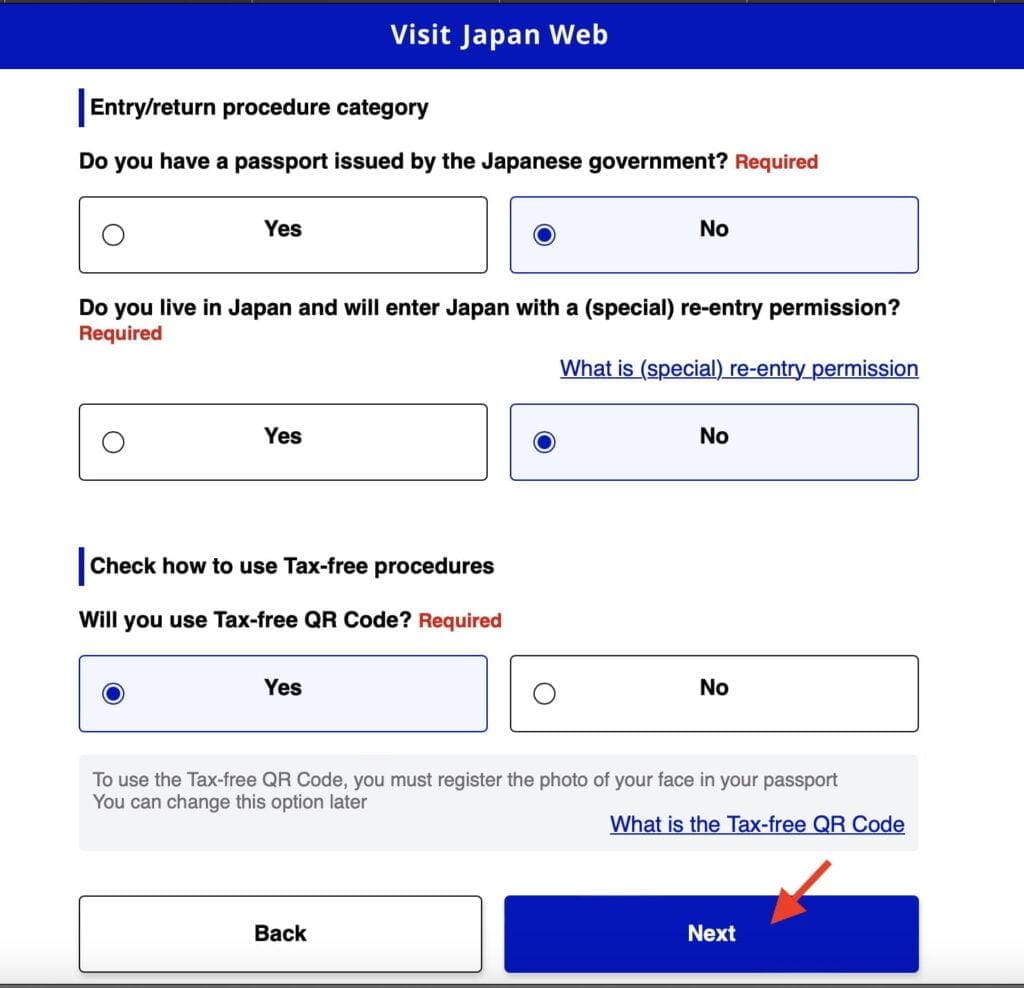
Step 3 – Answer the questions and click “Next“
Step 4 – Click “Next” to activate your camera and take a photo of your passport. If you’re prompted to grant permission for camera usage, simply click “Allow“.
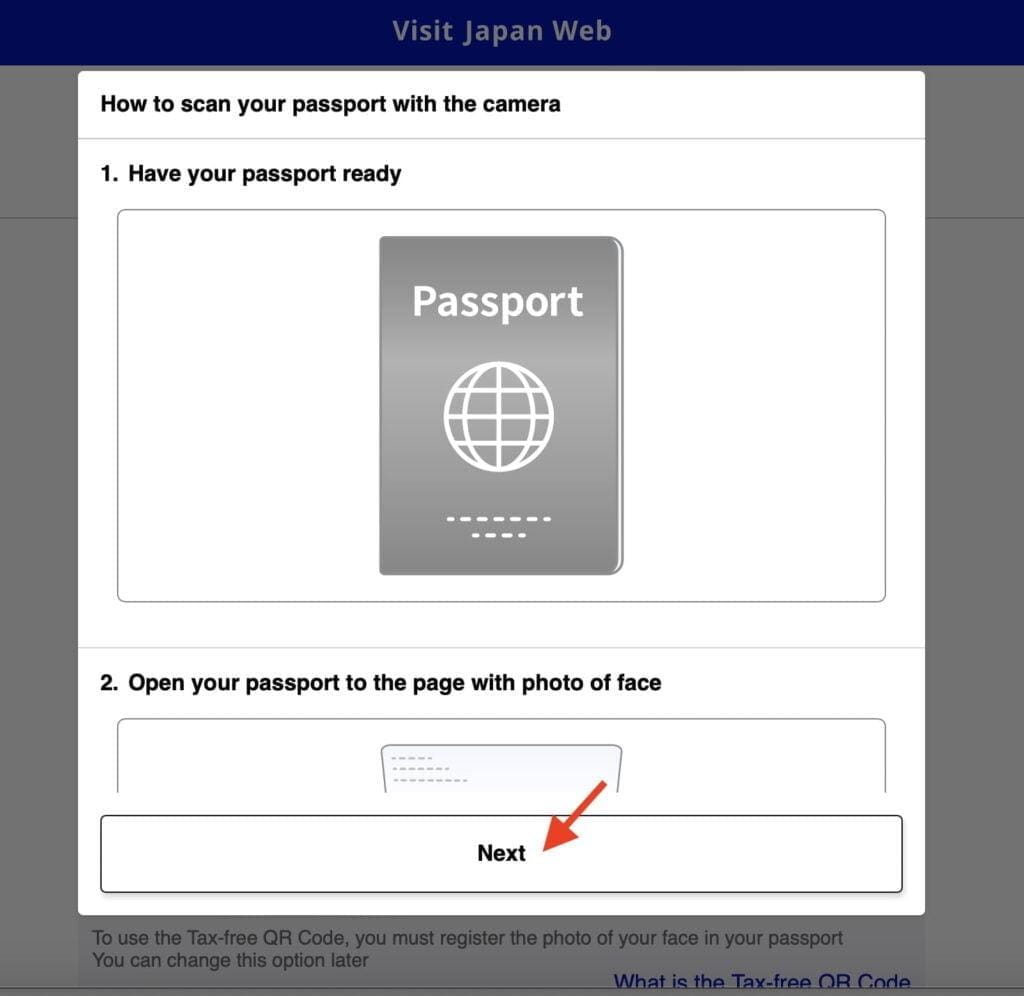
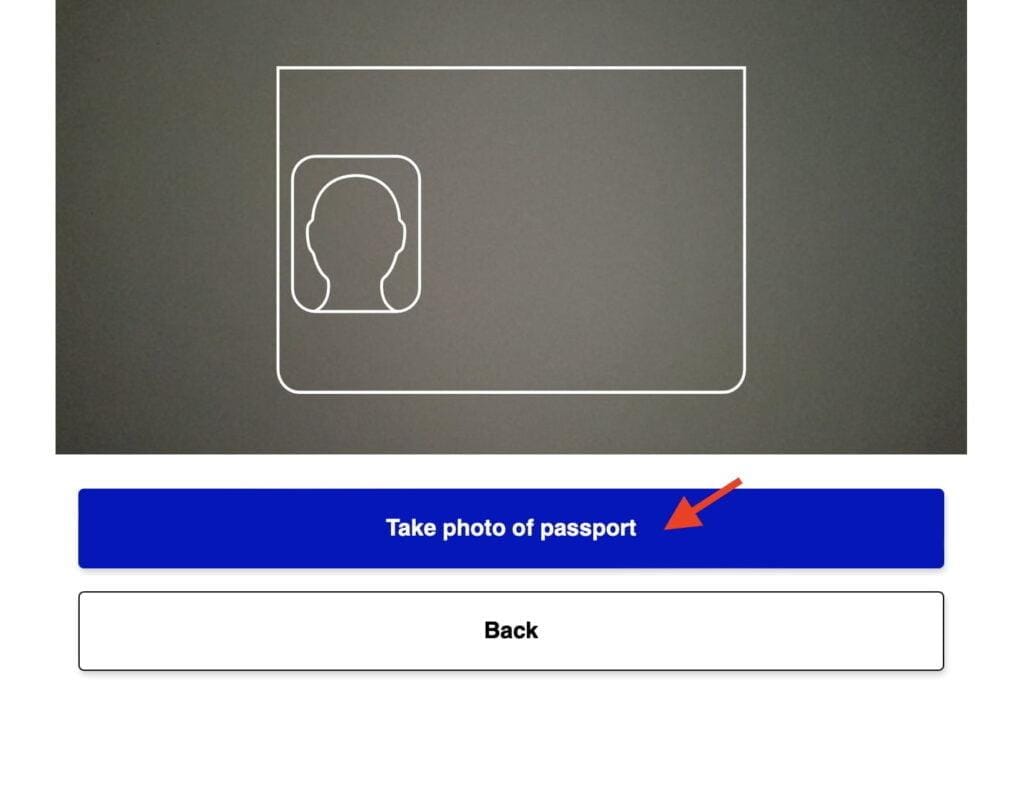
Step 5 – Align your passport within the frame displayed on the screen, ensuring it fits properly, and then click “Take Photo of Passport” to capture the image.
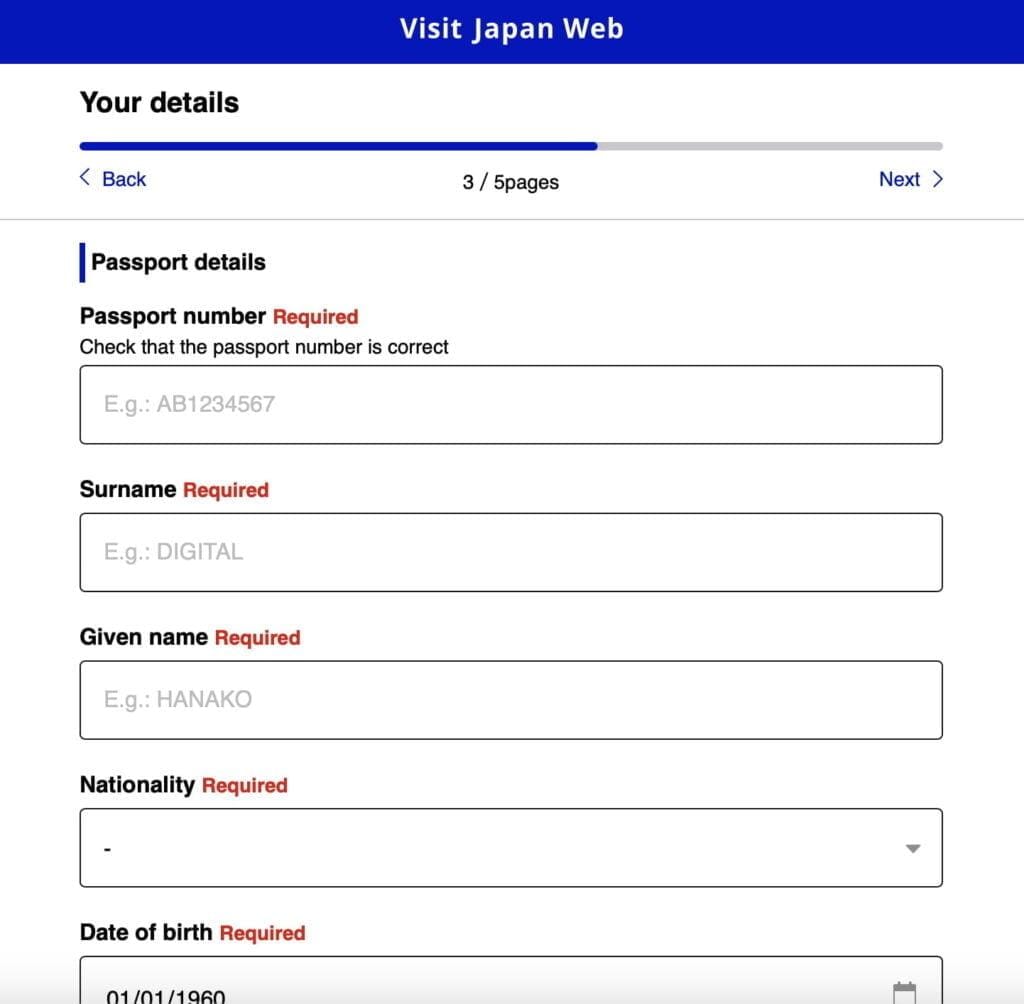
Step 6 – Your passport details will be automatically populated in the designated fields. Please take a moment to carefully review this information for accuracy. If any corrections are required or if there is any missing information, kindly make the necessary adjustments. Click “Next” to continue.
Step 7 -Review the summary to ensure that all the information you have entered is correct. If you need to make any corrections, simply click the “Edit” button. Otherwise, if everything is accurate, proceed by clicking “Register.”
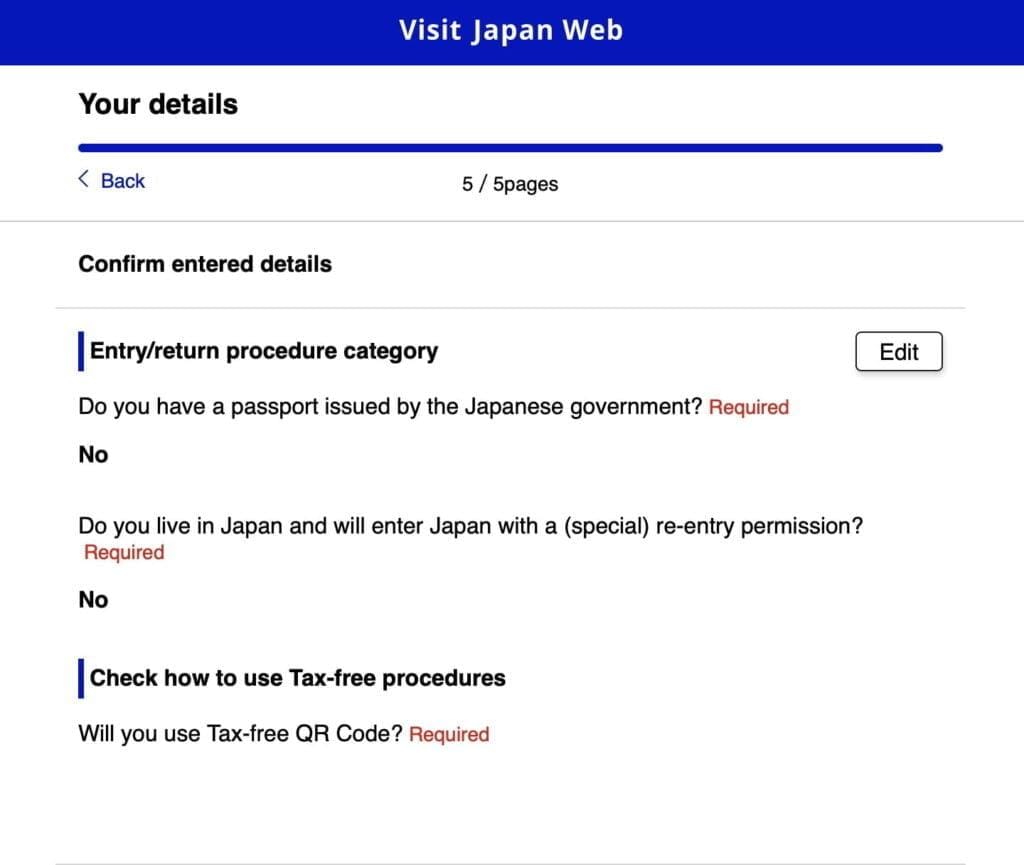
Your details are now registered. If you are traveling with other family members, you can register them under the same account for added convenience.
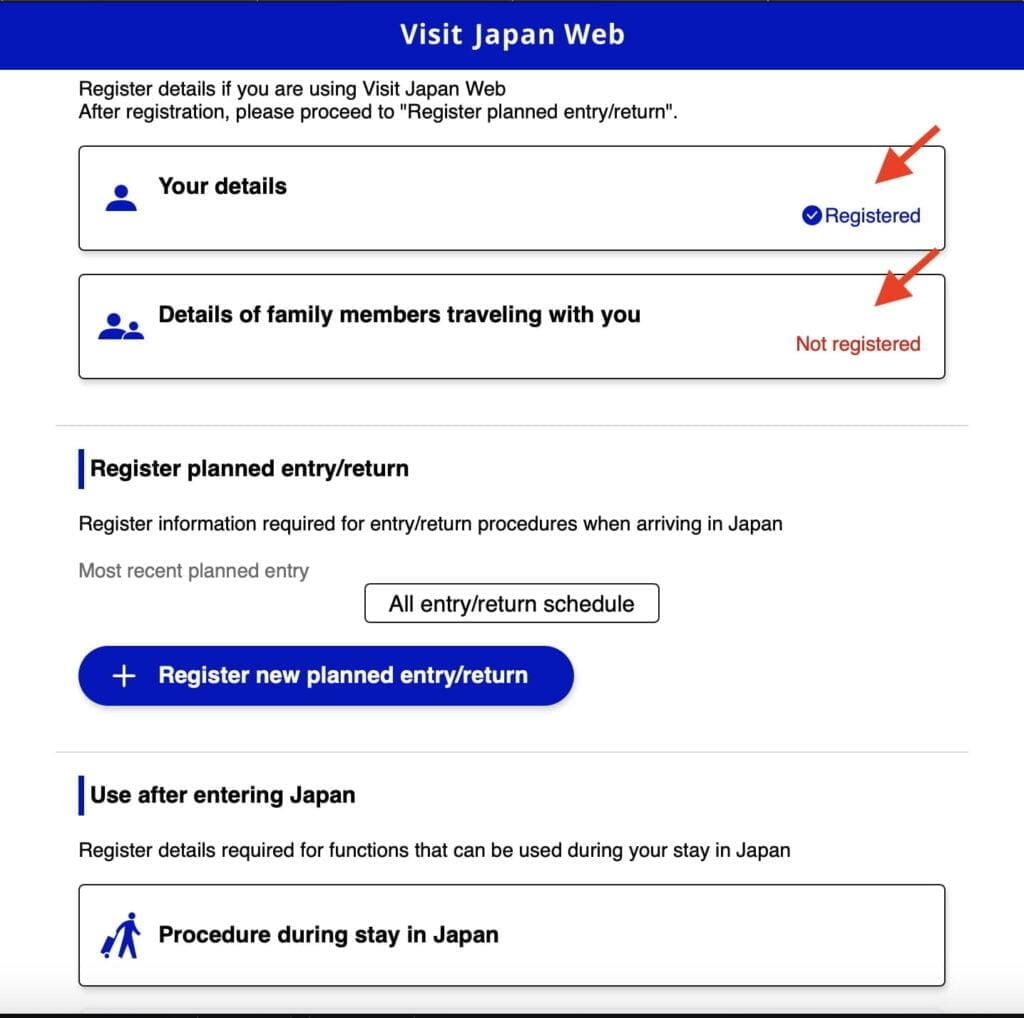
Register Your New Planned Entry
In the next section, we will guide you through the process of registering your trip to Japan.
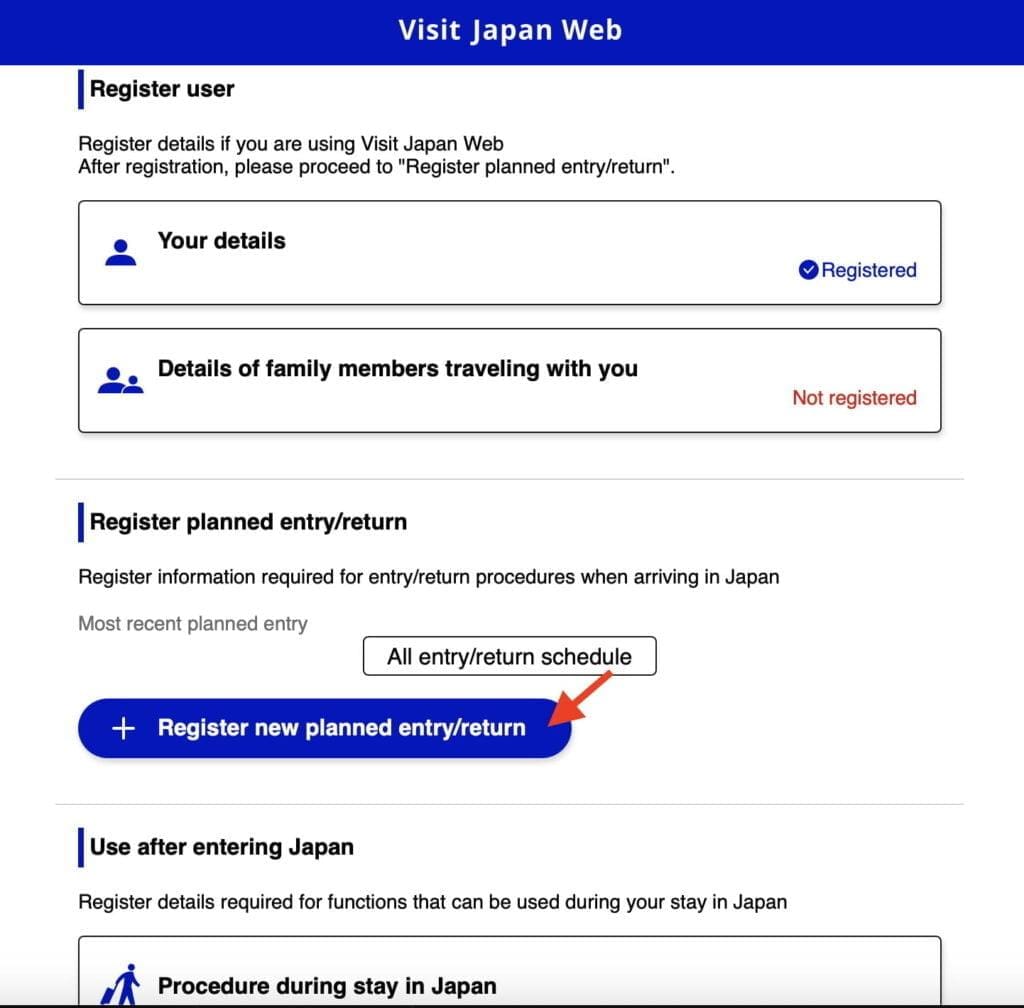
Step 1 – Click on “Register new planned entry/return“.
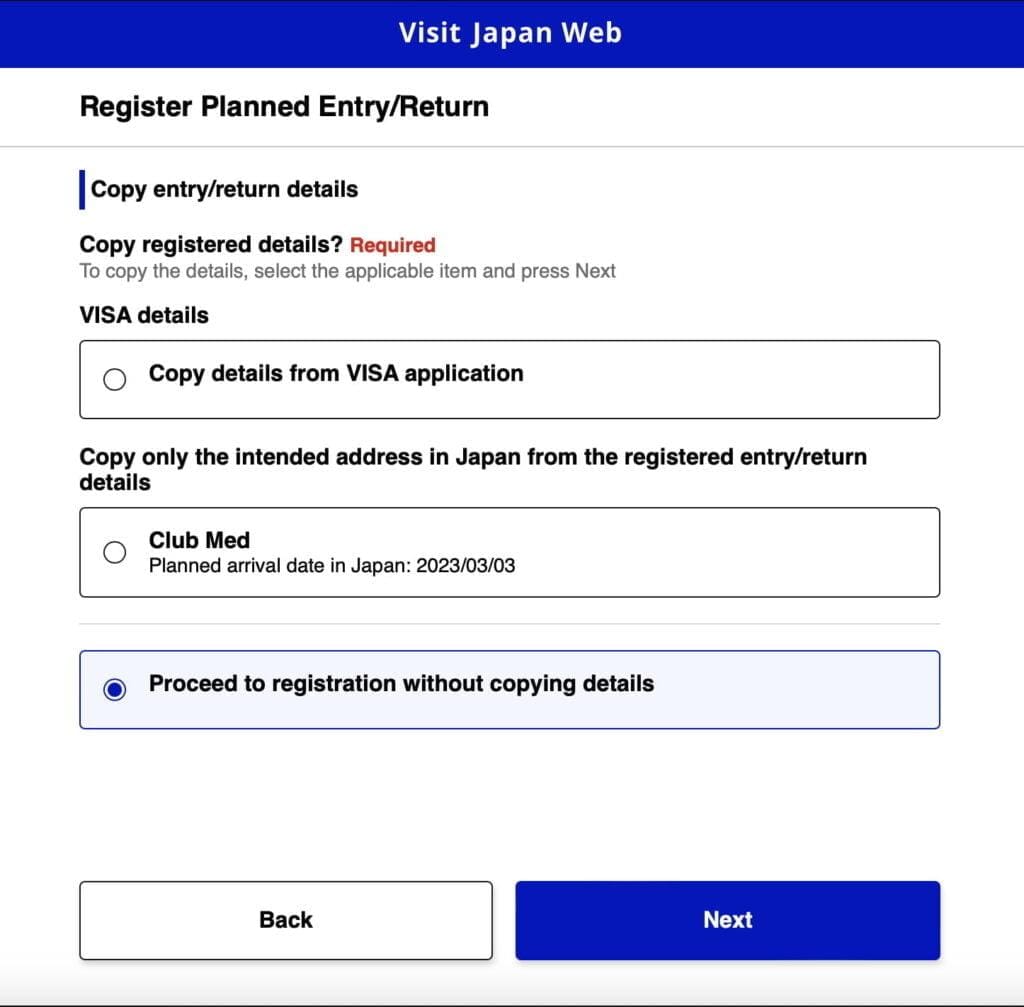
Step 2 – Click “Proceed to registration without copying details“.
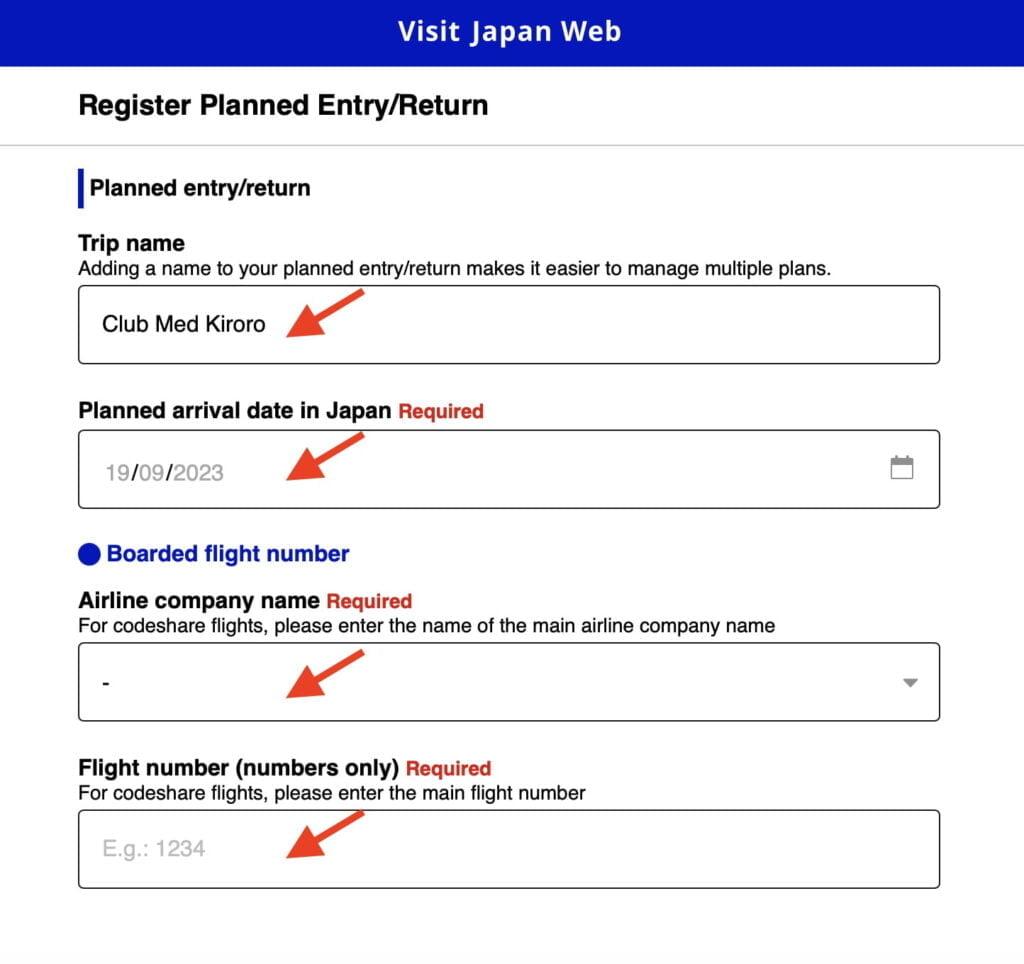
Step 3 – Enter Trip Name, Arrival Date, Airline Name and Flight Number.
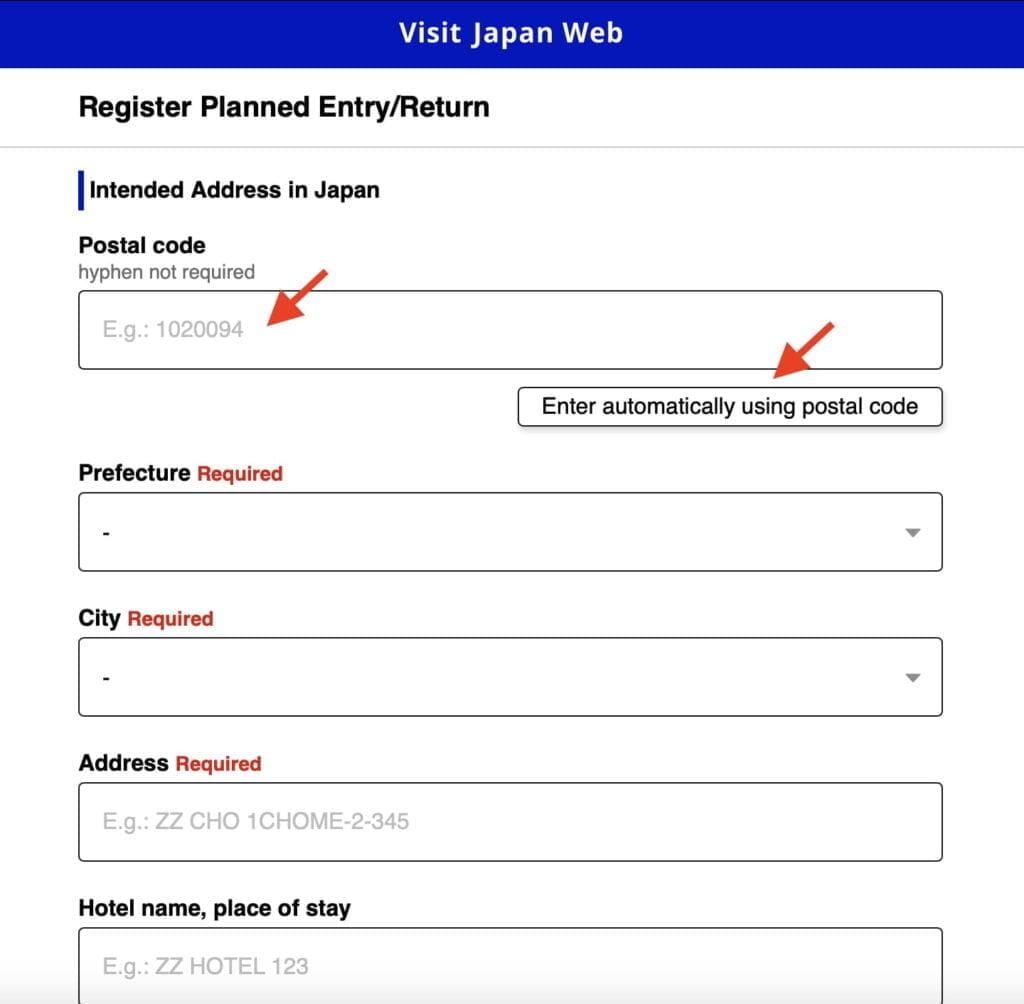
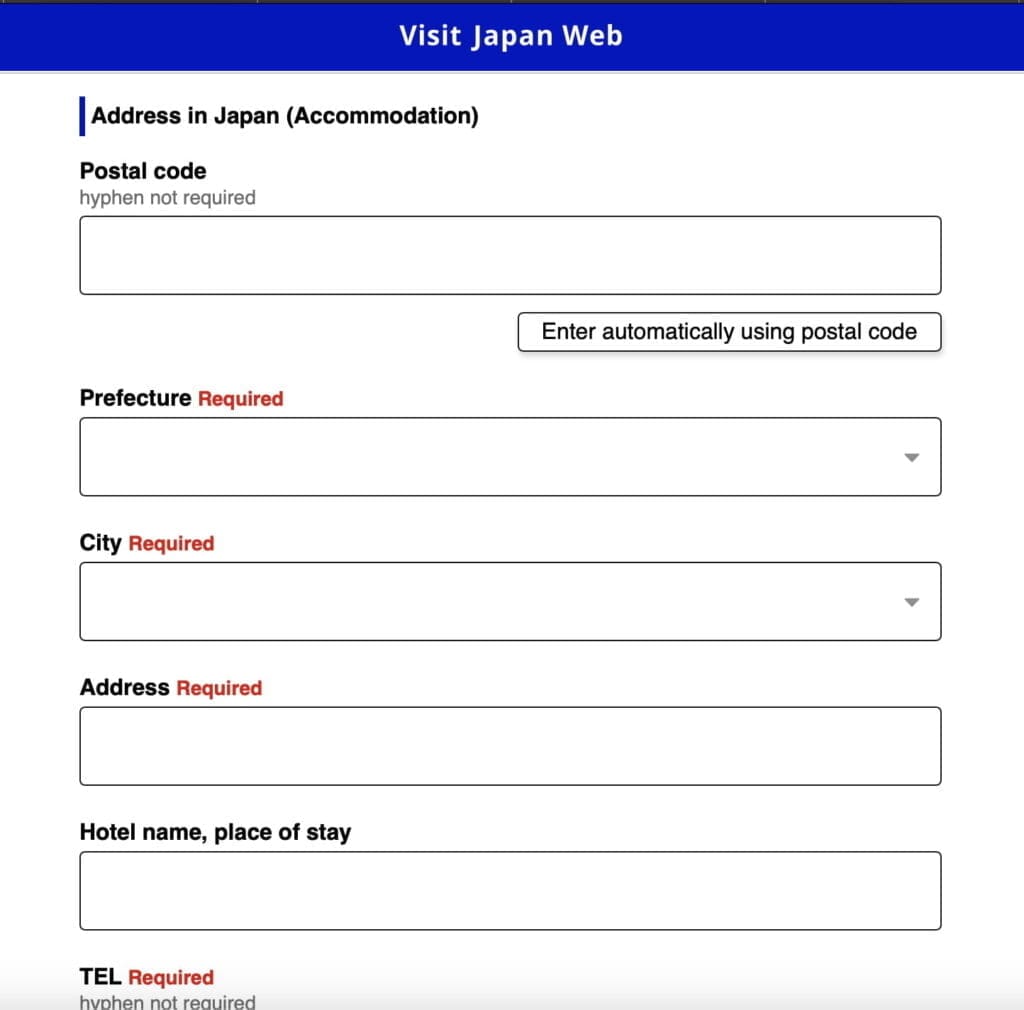
Step 4 – Enter the Postal Code to automatically fill in the Prefecture and City.
Club Med Kiroro Peak
Postal Code: 0460571
Address: 650 Tokiwa, Akaigawa
Phone: 810088217008
Club Med Kiroro Grand
Postal Code: 0460571
Address: 650 Tokiwa, Akaigawa
Phone: 81135353131
Club Med Tomamu
Postal Code: 0792204
Address: 2171-2 Nakatomamu
Phone: 81167569800
Club Med Sahoro
Postal Code: 0810039
Address: Nishi 6 Sen, 147-1 Niinai
Phone: 81156646667
Fill in your address and phone number, and then click “Confirm Entered Details” to proceed.
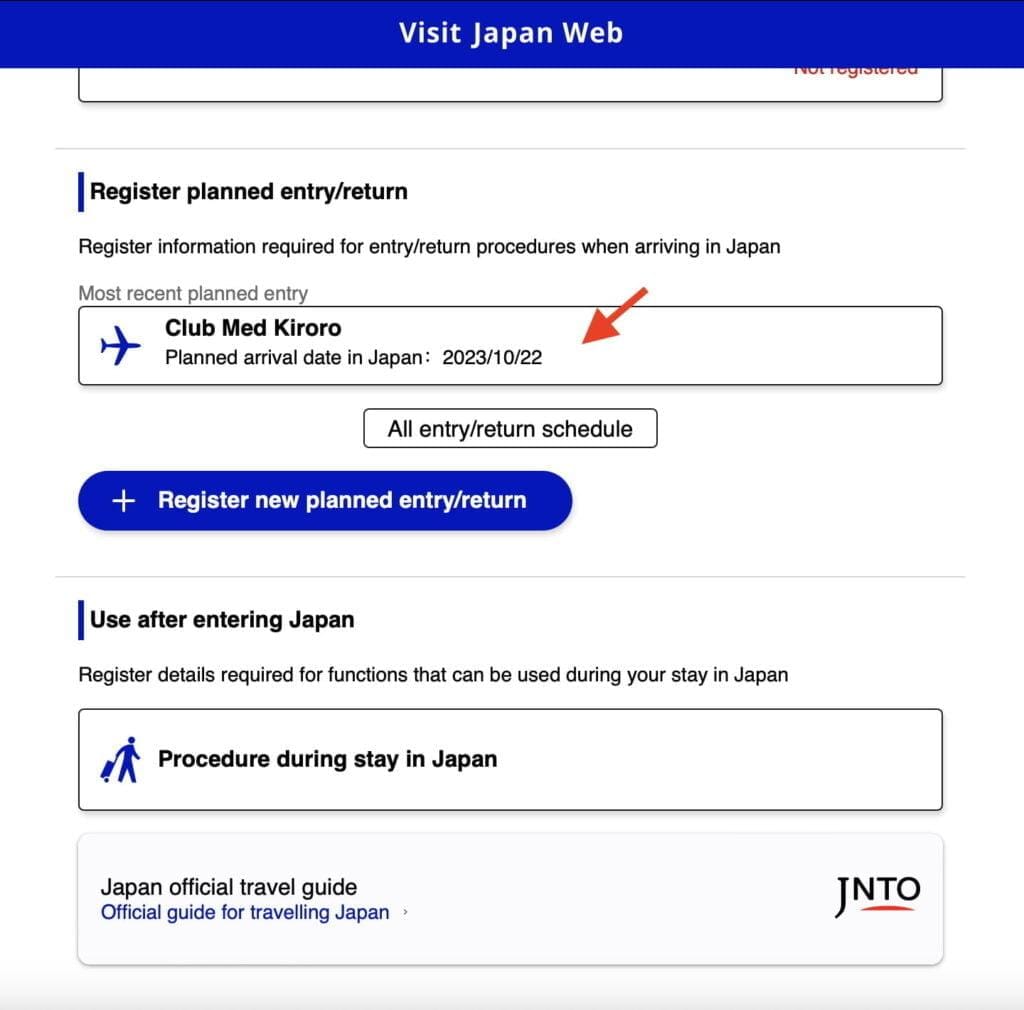
Step 5 – Your trip has been successfully registered. Click on the trip name to proceed and issue your embarkation card.
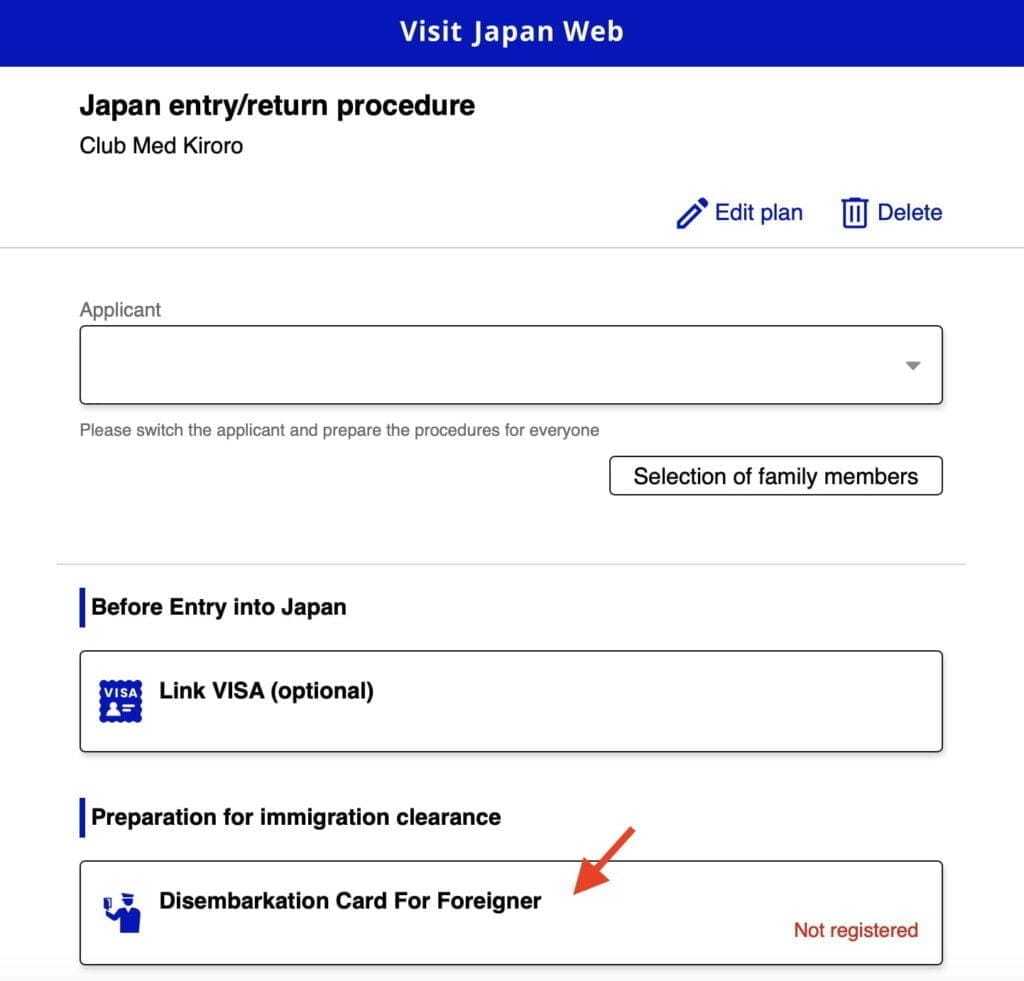
Step 6 – To continue with the next steps and issue your embarkation card, please click on “Disembarkation Card For Foreigner“.
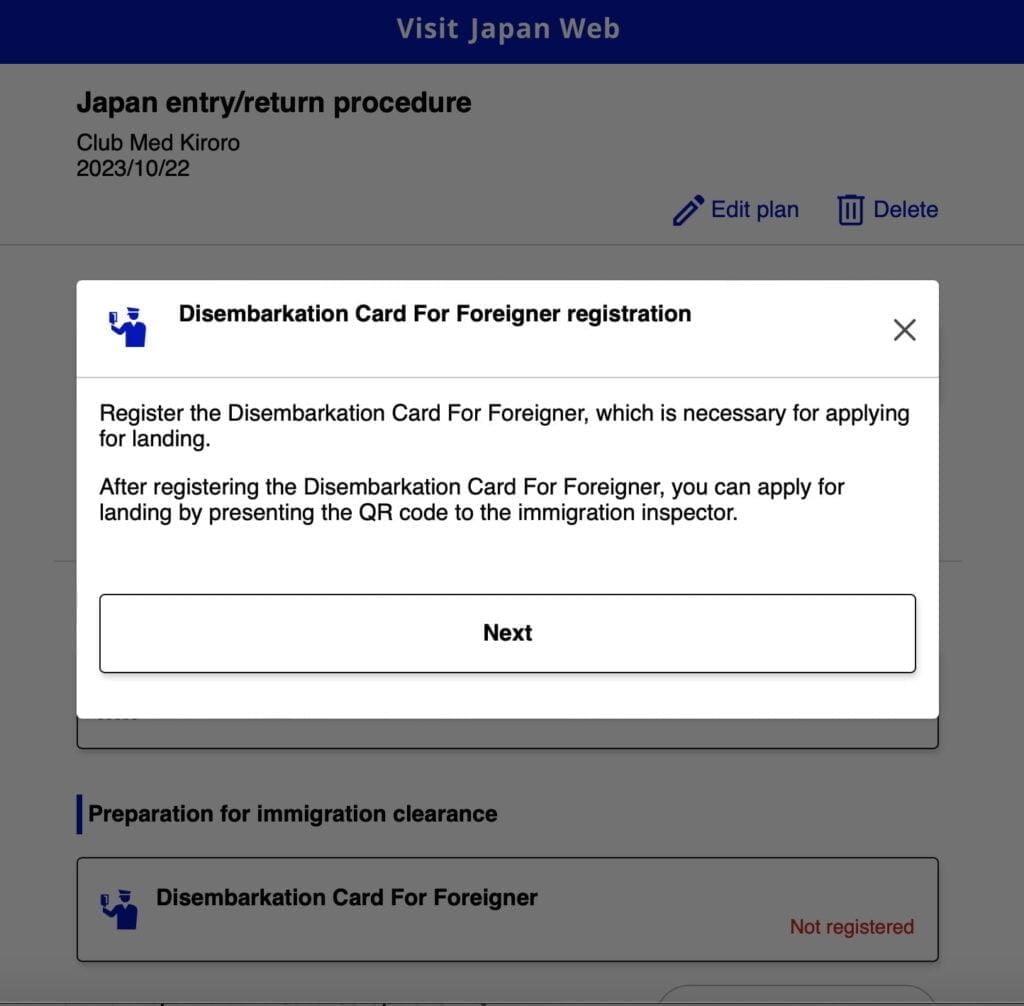
Step 7 – Click “Next” to continue.
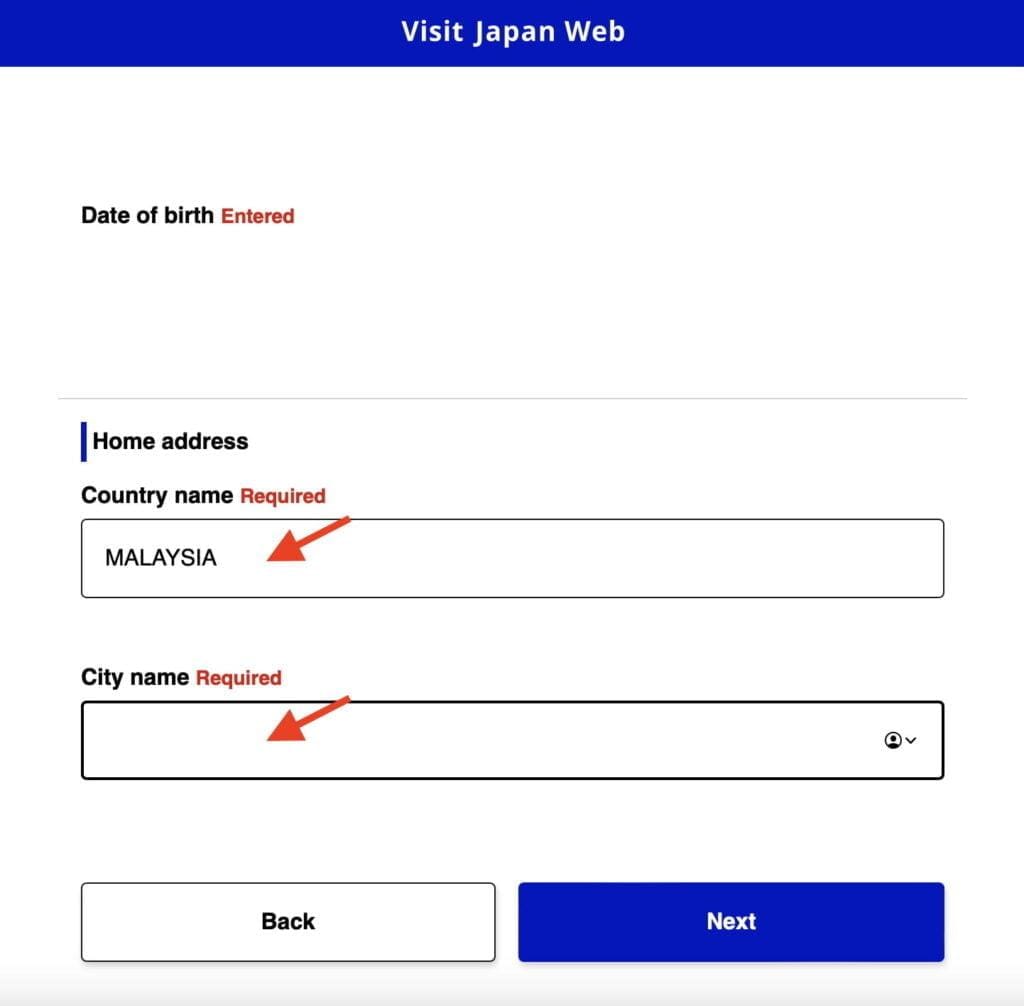
Step 8 – Enter Country Name and City Name of your home address and click “Next“.
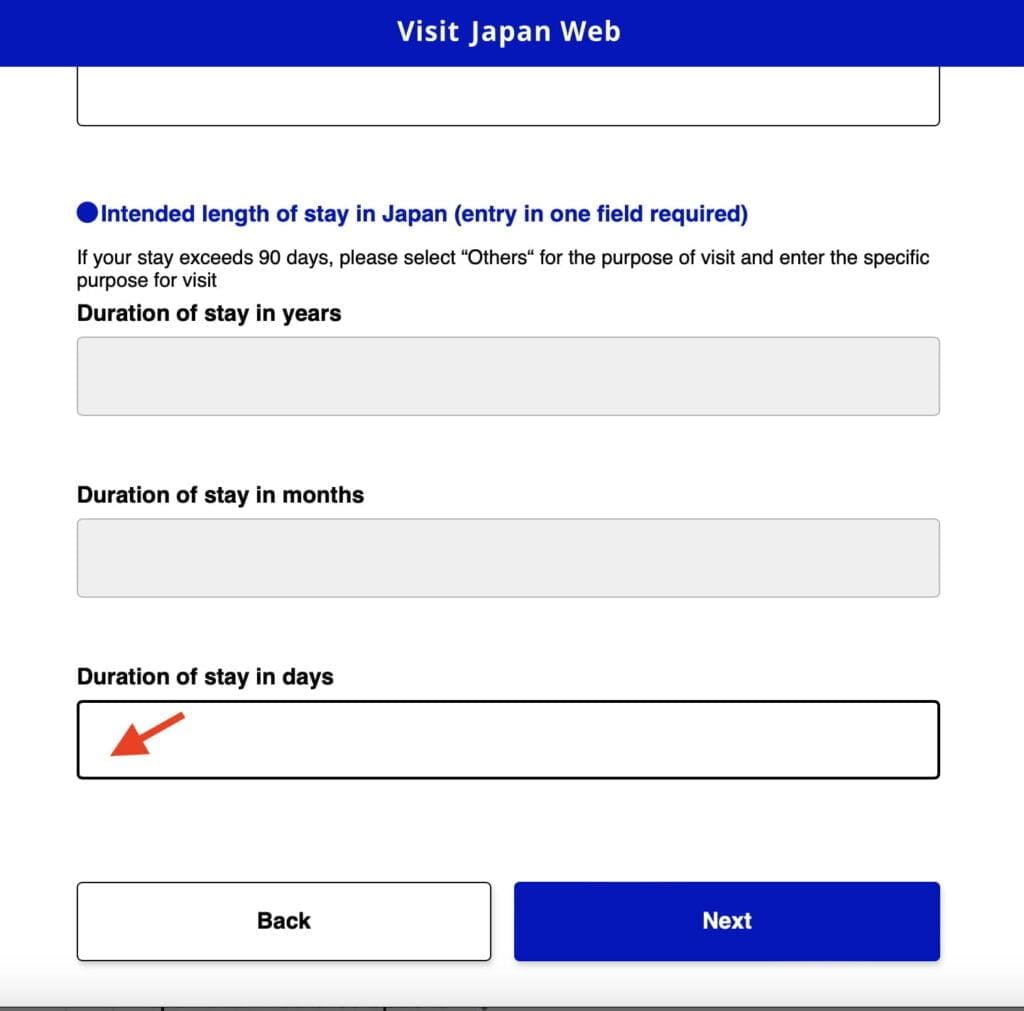
Step 9 – Enter the number of “Duration of Stay in Days” and then click “Next.”
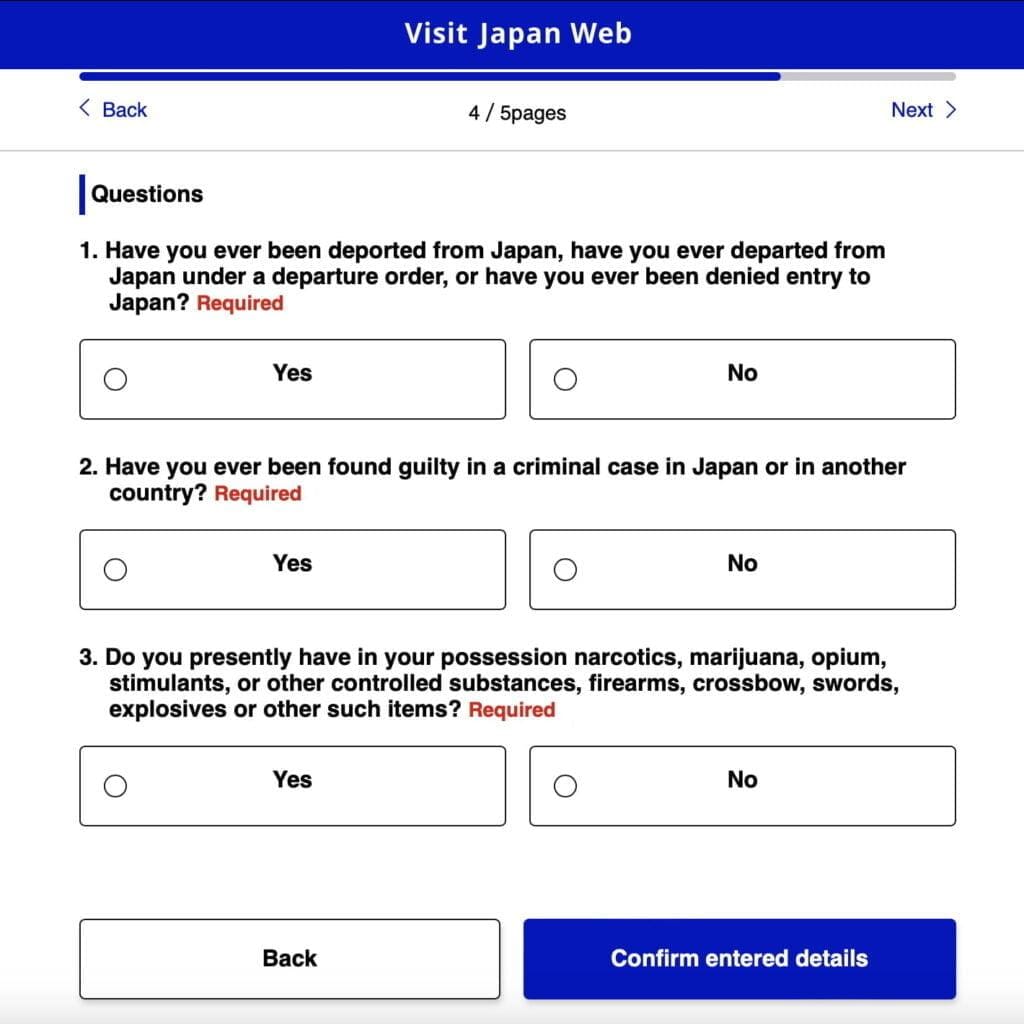
Step 10 – Answer the questionnaire and click “Confirm Entered Details“.
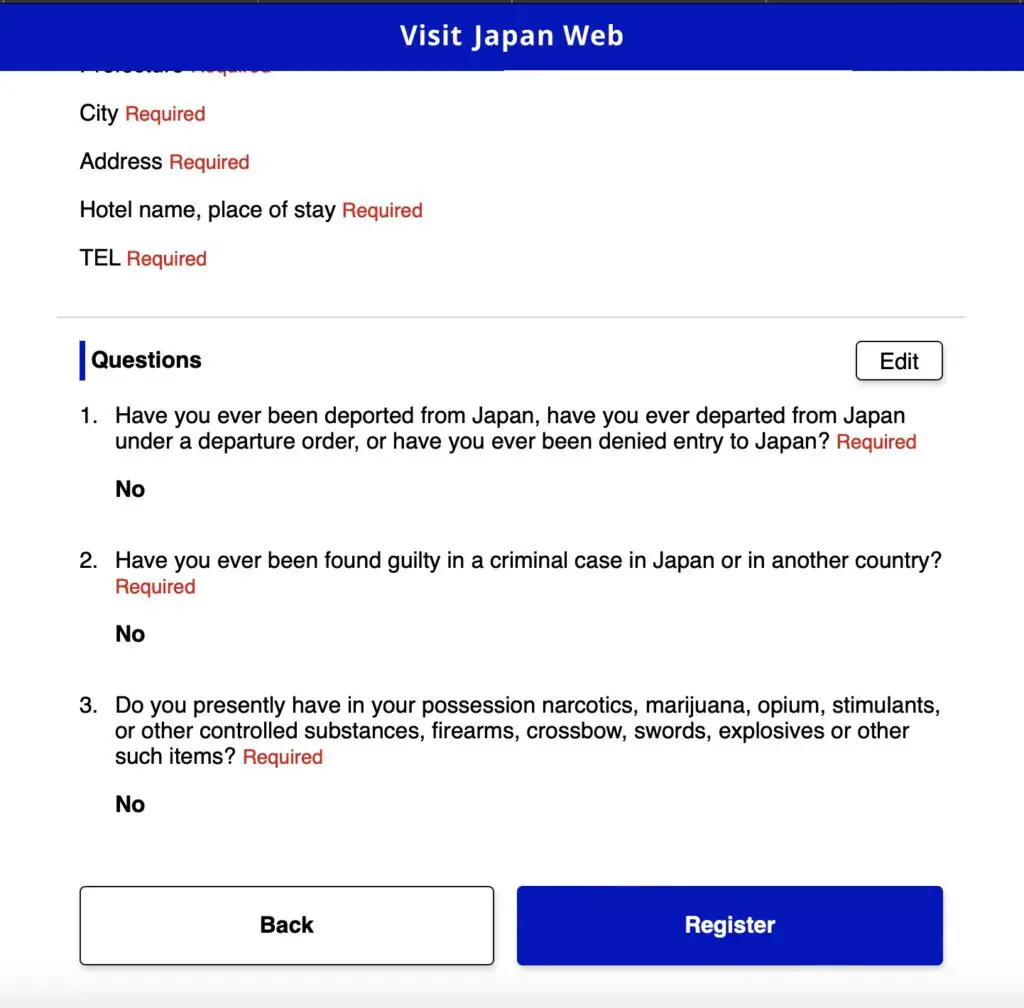
Step 11 – Review the information entered and make any corrections by clicking the “Edit” button. Otherwise, click “Register“.
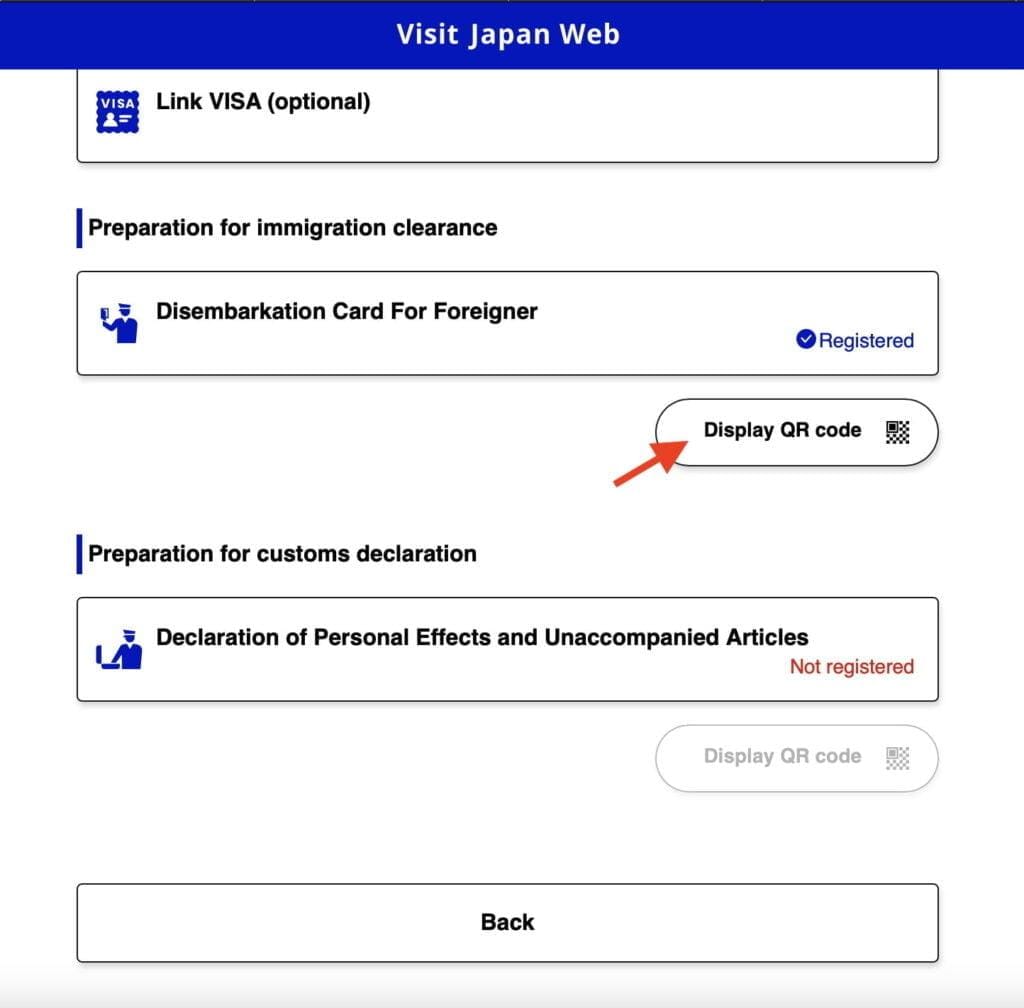
Your disembarkation card is now complete. To view the QR code, simply click on “Display QR Code“. For your convenience, we recommend taking a screenshot of the QR code and storing it on your mobile phone for safekeeping.
Custom Declaration
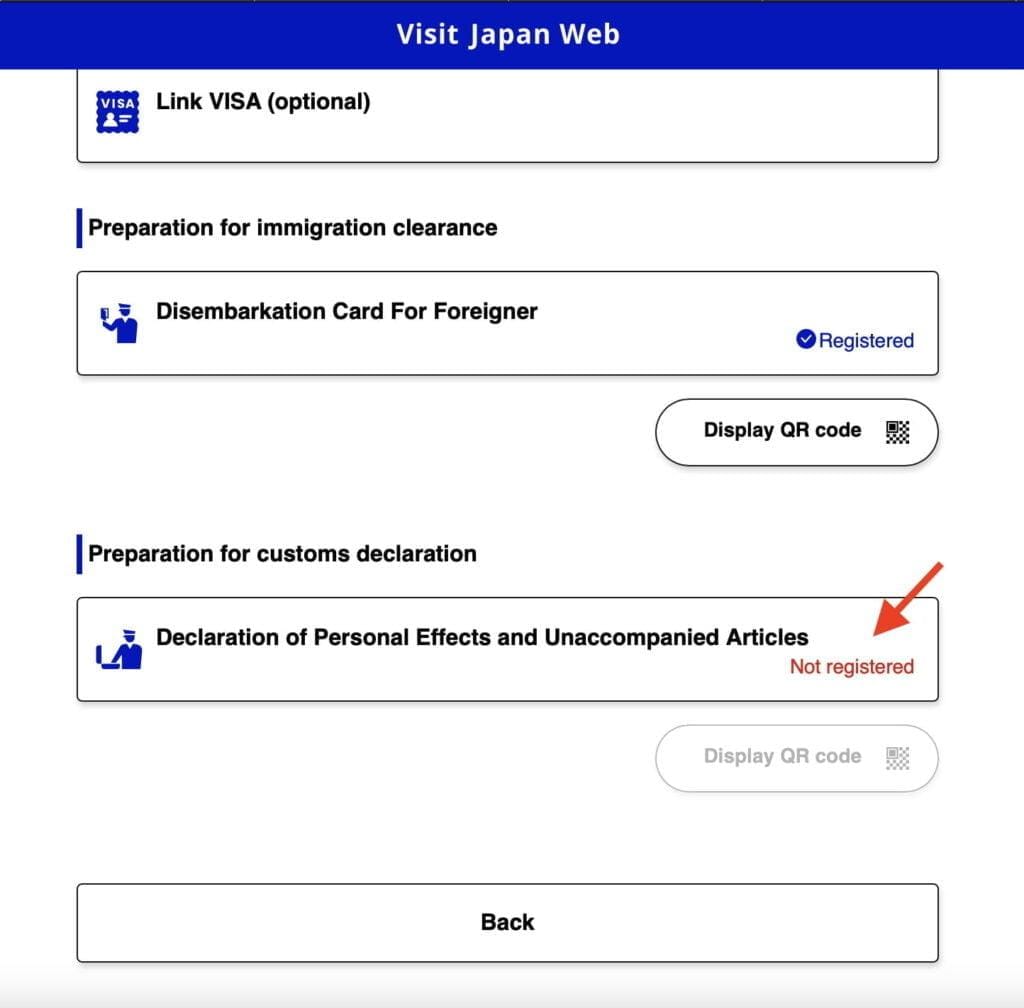
Step 1 – Click on the “Declaration of Personal Effects and Unaccompanied Articles“
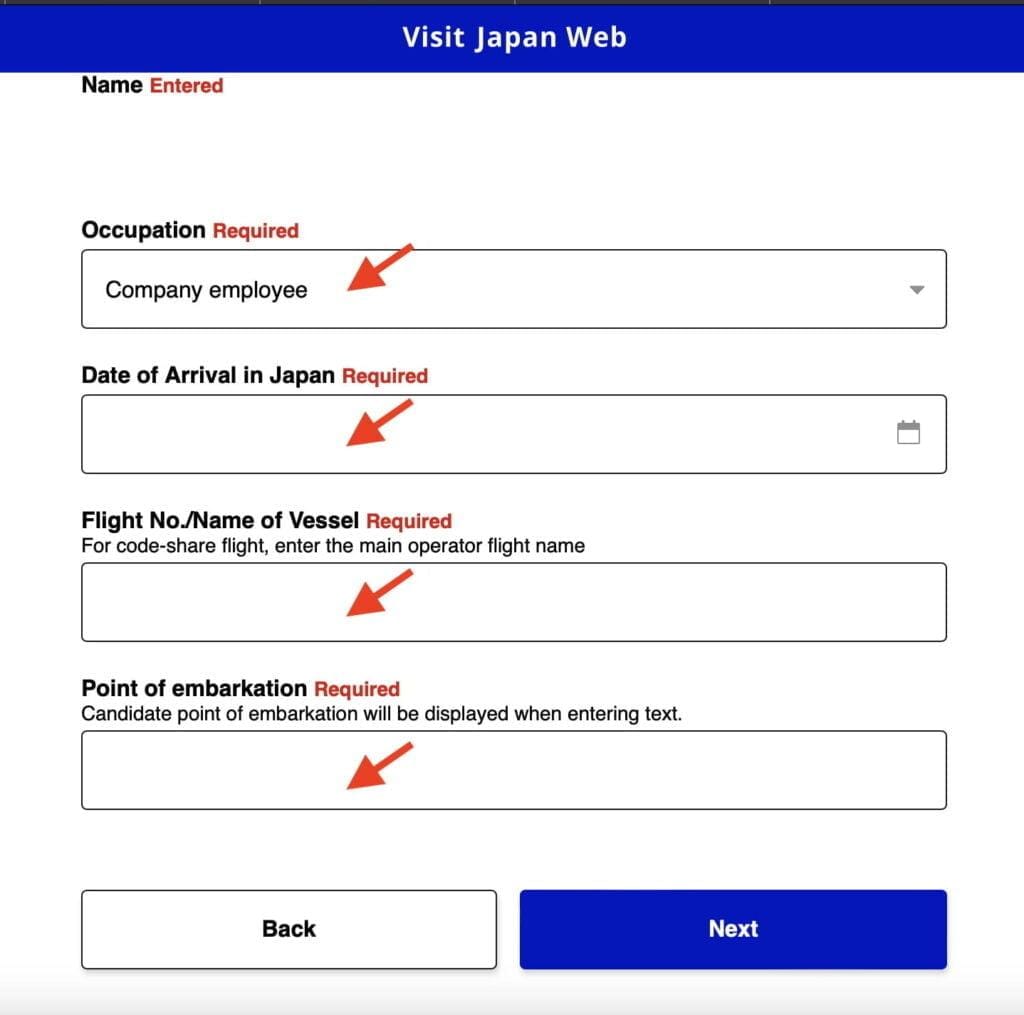
Step 2 – Complete all the required fields with the necessary information and click “Next“
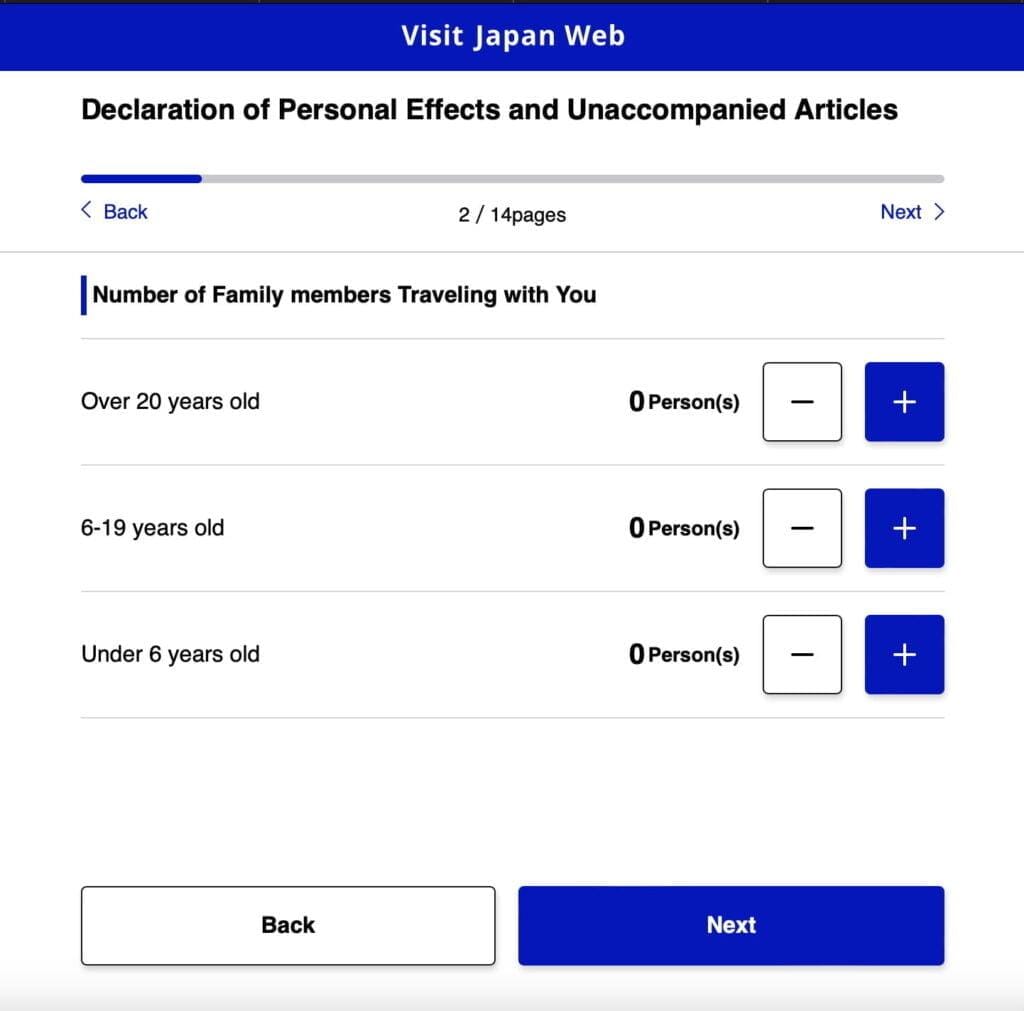
Step 3 – If you have other family members traveling with you, please indicate and click “Next” to proceed.
Step 4 – Your hotel information will be automatically populated based on the details provided in your disembarkation card. Please review this information for accuracy. If any corrections are needed, make them and then click “Next” to continue.
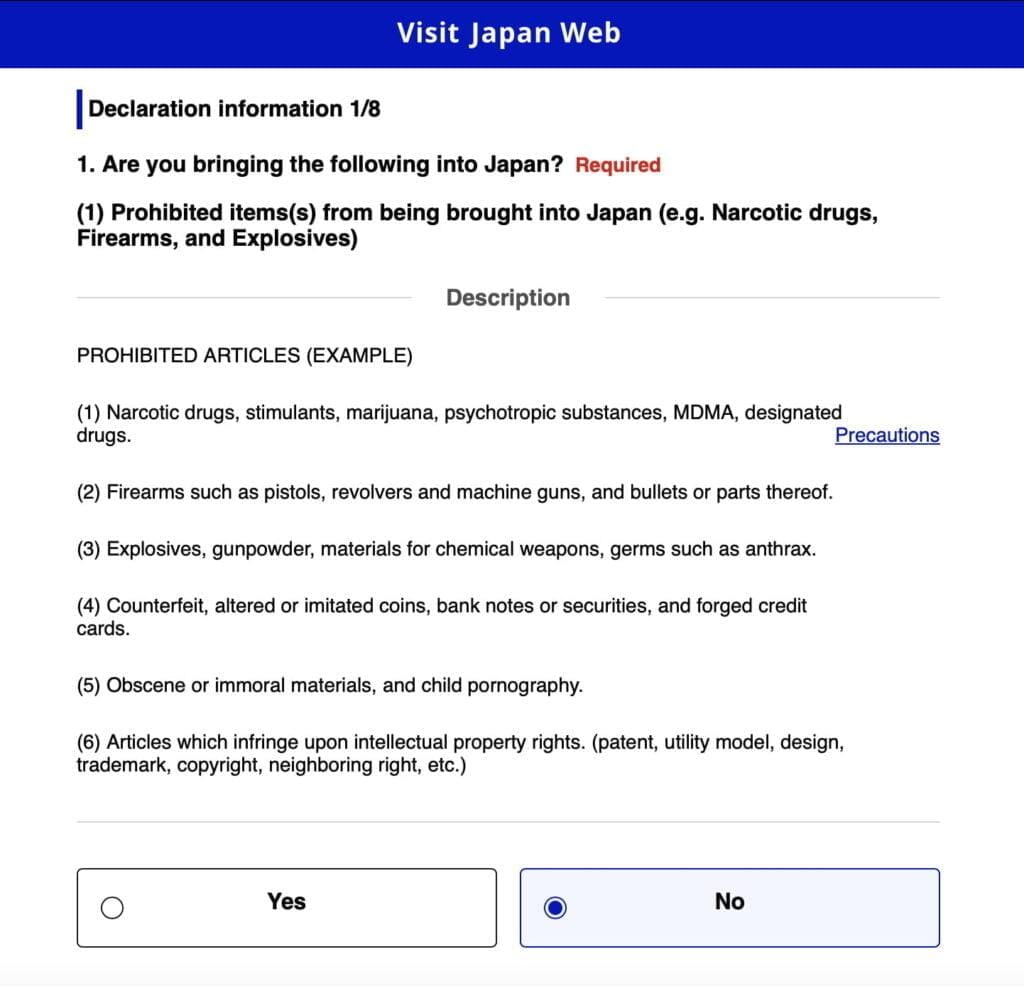
Step 5 – Answer the Custom Declaration Questions thoroughly, and after each section, click “Next.” Be aware that there are a total of 8 pages of questions to complete.
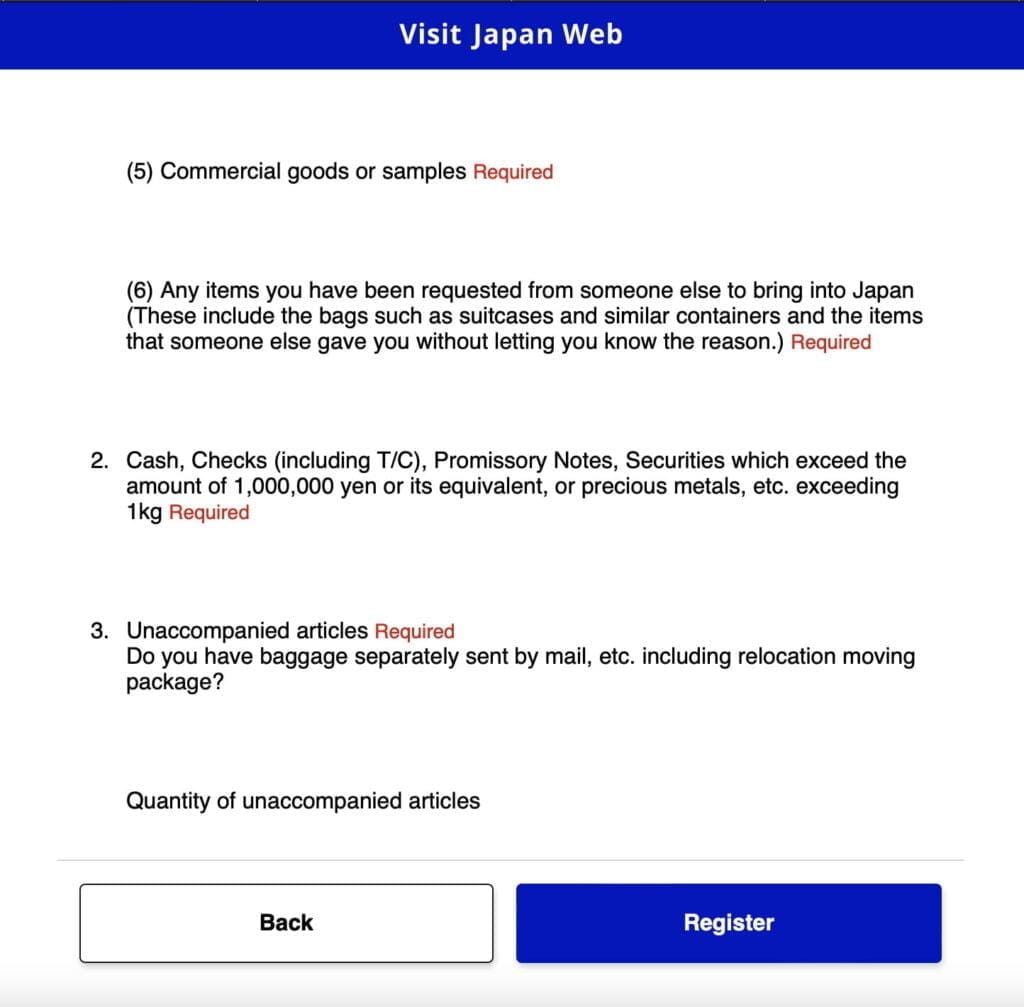
Step 6 – Carefully review the questions and your answers in the Custom Declaration. If any corrections are necessary, please make them. Otherwise, click “Register” to finalize the process.
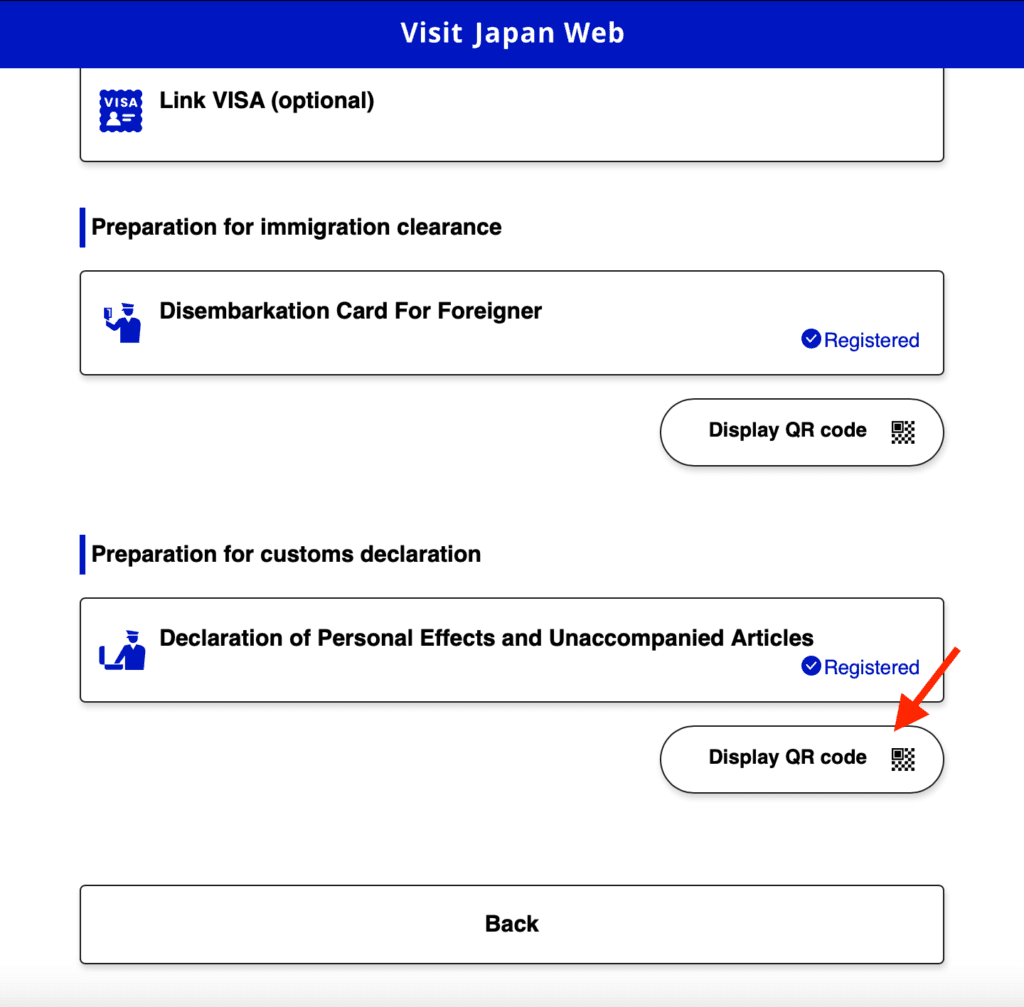
Your custom declaration has been successfully completed. To view the QR code, simply click on “Display QR Code.” For your convenience and peace of mind, we recommend taking a screenshot of the QR code and storing it on your mobile phone. This will ensure you have easy access to it when needed.
Create Tax Free QR Code
Once you’ve arrived in Japan, you have the option to create a tax-free QR Code, which allows you to enjoy tax-free shopping at participating stores. This QR code is your key to expediting the tax-free shopping process and maximizing your shopping experience in Japan.
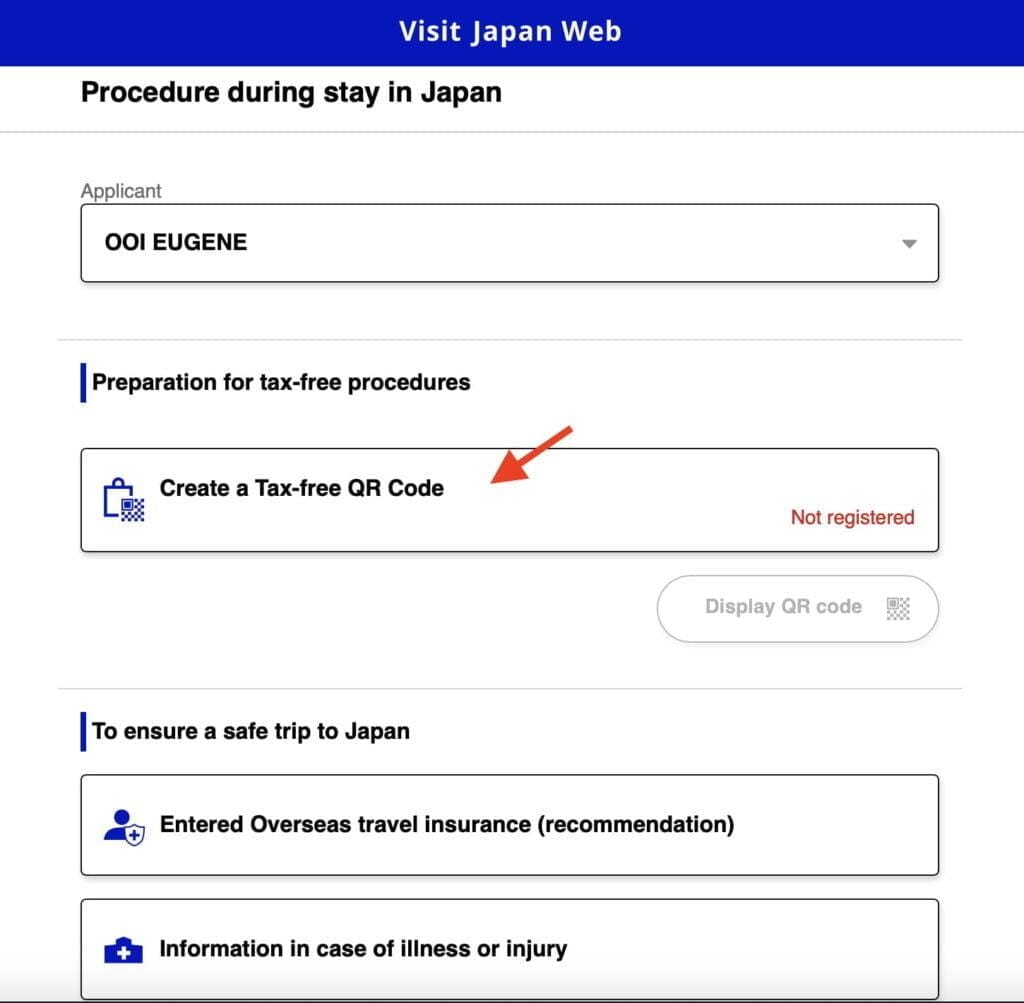
Step 1 – To begin the process, click on “Create a Tax-Free QR Code.”
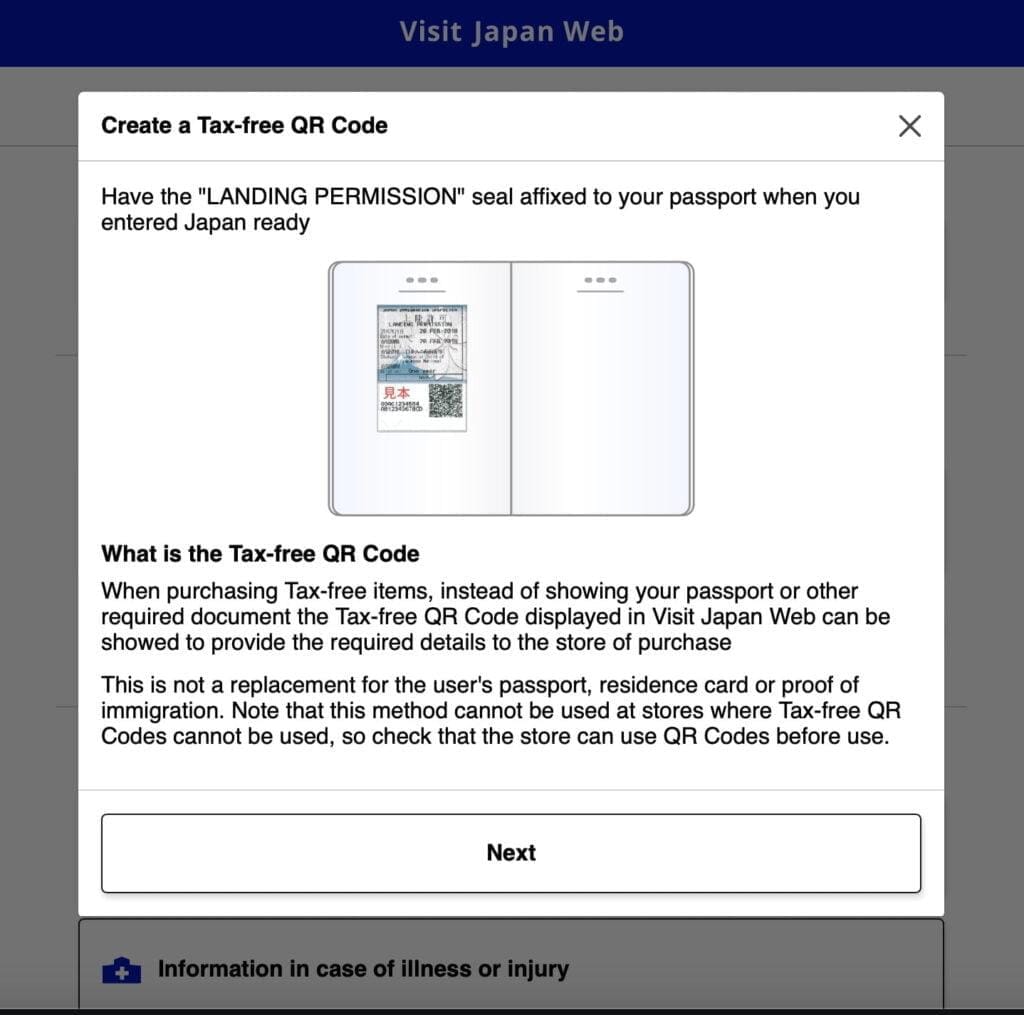
Step 2 – To proceed, click “Next” to activate your mobile phone’s camera and capture a photo of your “Landing Permission” seal in your passport.
With Visit Japan Web, your journey to Japan becomes not only more straightforward but also more enjoyable, allowing you to focus on experiencing the beauty and culture of this captivating country.


